How to Set Up a File for Export in RapidStart for Dynamics NAV

NOTE: This process will only work for basic Card imports.
If you need to work with more complex projects or a group of imports, contact ArcherPoint for instructions.
Locating RapidStart Services
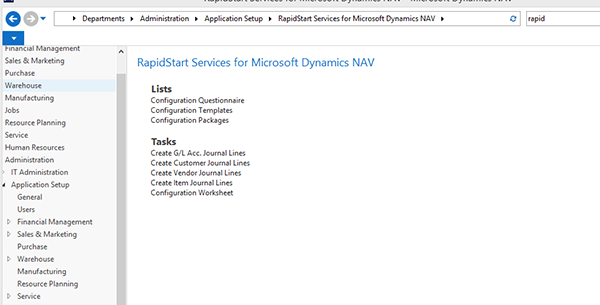
In the search bar, type Rapid and select the link for RapidStart Services for Microsoft Dynamics NAV.
Figure 1. Search bar with search results.
You should see a screen similar to the one below:
Figure 2. RapidStart menu screen.
Step 1 – Configuration Worksheet
- Go to the RapidStart Menu.
- Select Configuration Worksheet – This is used to create the tables you need for of your imports.
- Select New.
- Select a Table as the Line Type. NOTE: The Line Type will always be Table.
- Enter the table number. If you do not know your table number, you can select the down arrow to see a list of available tables to choose from.
- You should now see a table you are going to use for your import.
- Click OK to close the screen.
Step 2 – Configuration Package
- Go to the RapidStart Menu.
- Select Configuration Worksheet.
- Go to the line created previously and highlight it.
Figure 3. Highlighted line created previously.
- Click Actions.
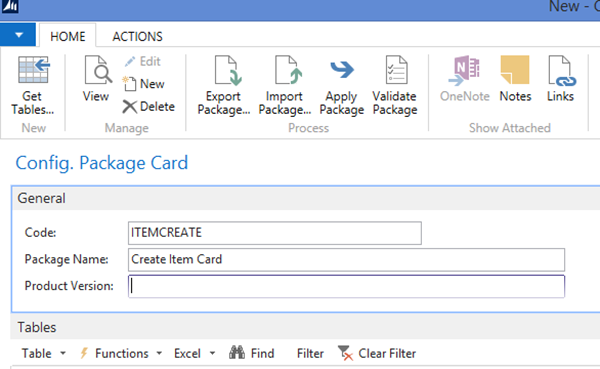
- Assign a package.
- Create a new package. NOTE: If you already have a package created you can select that at this point
- Enter the code.
- Enter the Package Name
- Check Exclude Config. Tables and click OK
Figure 4. Creating a package.
- Select the Package you created and click OK.
Figure 5. Package assigned to table.
Step 3 – Configuration Template
- Go to the RapidStart Menu
- Select Configuration Templates.
- Select New.
- Enter the Code.
- Enter the Description.
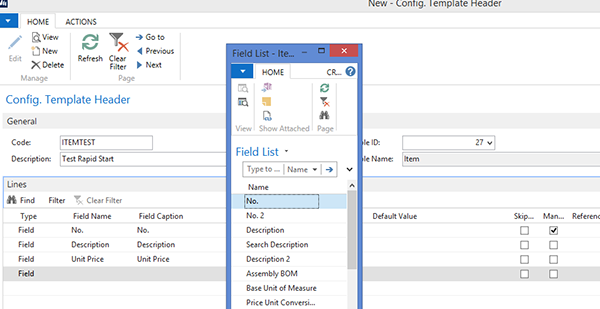
- Enter your Table Number.
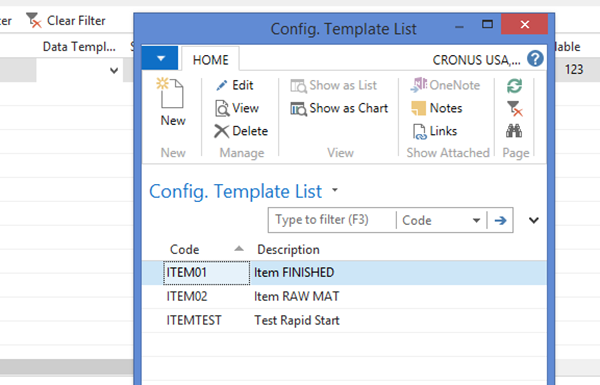
Figure 6. Editing the Configuration Template.
- Go to the lines section and click in the Field name.
- Select the items you want as part of your export and Import Process.
Figure 7. Select items to be part of the export/import process.
- Make sure the No. Field for the card has a check mark in the Mandatory field.
- Click OK to create your new template.
Step 4 – Edit Configuration Package
- Go to the RapidStart Menu
- Select Configuration Packages.
- Select the package created above.
- Go to the line section
- Highlight and select the No. of Fields Available number.
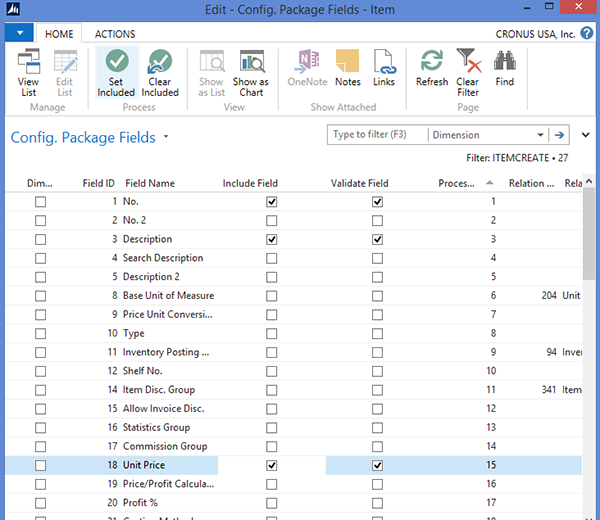
- You should now see a list of all of the available fields in this table.
- Click Edit List
- If you are going to export all of the fields, you do not have to do anything at this point.
- If you are only gong to export a few fields, click the Clear Include button and then check the Include Field box for those fields you wish to see and update.
Figure 8. Select fields to export.
- Click OK.
- Under Data Template select your template created above.
Figure 9. Select template.
- Click OK.
- Click Apply Package.
Step 5 – Run Configuration Package
- Go to the RapidStart Menu.
- Select Configuration Packages.
- Select the package created above.
- Click Actions.
- Select Export to Excel.
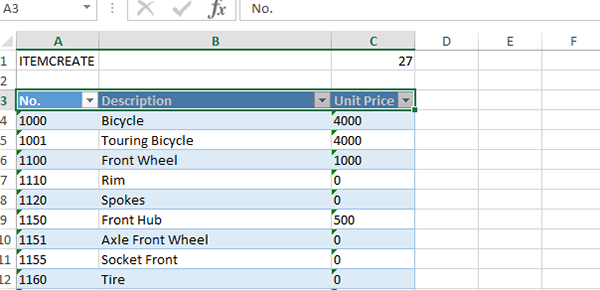
You should see an exported sheet similar to the one below. This will be specific to the fields you selected above:
Figure 10. Excel workbook containing exported fields.
- Make the updates you want and save the workbook. NOTE: Do not add or remove any columns as you will not be able to re-import if you do
- After you have made the updates, select Import from Excel
- Select your updated worksheet.
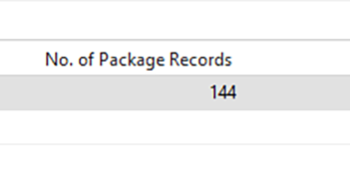
- Once you have done this, you will notice you now have a value in the No. Of Package Records field.
Figure 11. Indication of the number of imported records from Excel workbook.
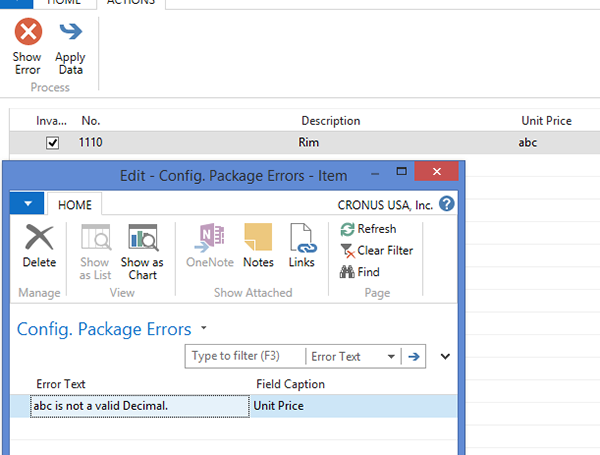
- If you have error, you will see a red number in the No. Of Package errors field.
- Highlight the number and review the error.
- Under Actions, Select Show Error on the highlighted line. This will show you what needs to be fixed and re-imported to continue your import.
Figure 12. If necessary, display import errors for correction and re-import.
- Once you have no further errors, click Actions.
- Click Validate Package.
- Click Apply the Package.
You have now successfully created and used RapidStart to update NAV. If you have any questions about this procedure or have other export projects or RapidStart questions, please contact ArcherPoint.
Trending Posts
Stay Informed
Choose Your Preferences
"*required" indicates required fields


