How To Add Report Filters in Dynamics Business Central or NAV

This blog provides step-by-step instructions on how to add filters in a report in Microsoft Dynamics 365 Business Central or Dynamics NAV. In the example provided, if you want to be able to view only blocked customers, adding a filter in a report will allow you to so.
- Create a window in which you can select the desired fields, similar to Figure 1.Figure 1 – The field filter in a report in Microsoft Dynamics 365 Business Central or Dynamics NAVIn this example, the area added for the field filters includes a filter for “No.” and for “Status”.
- Make a page extension to extend the reach for the desired filters for the Customer List.
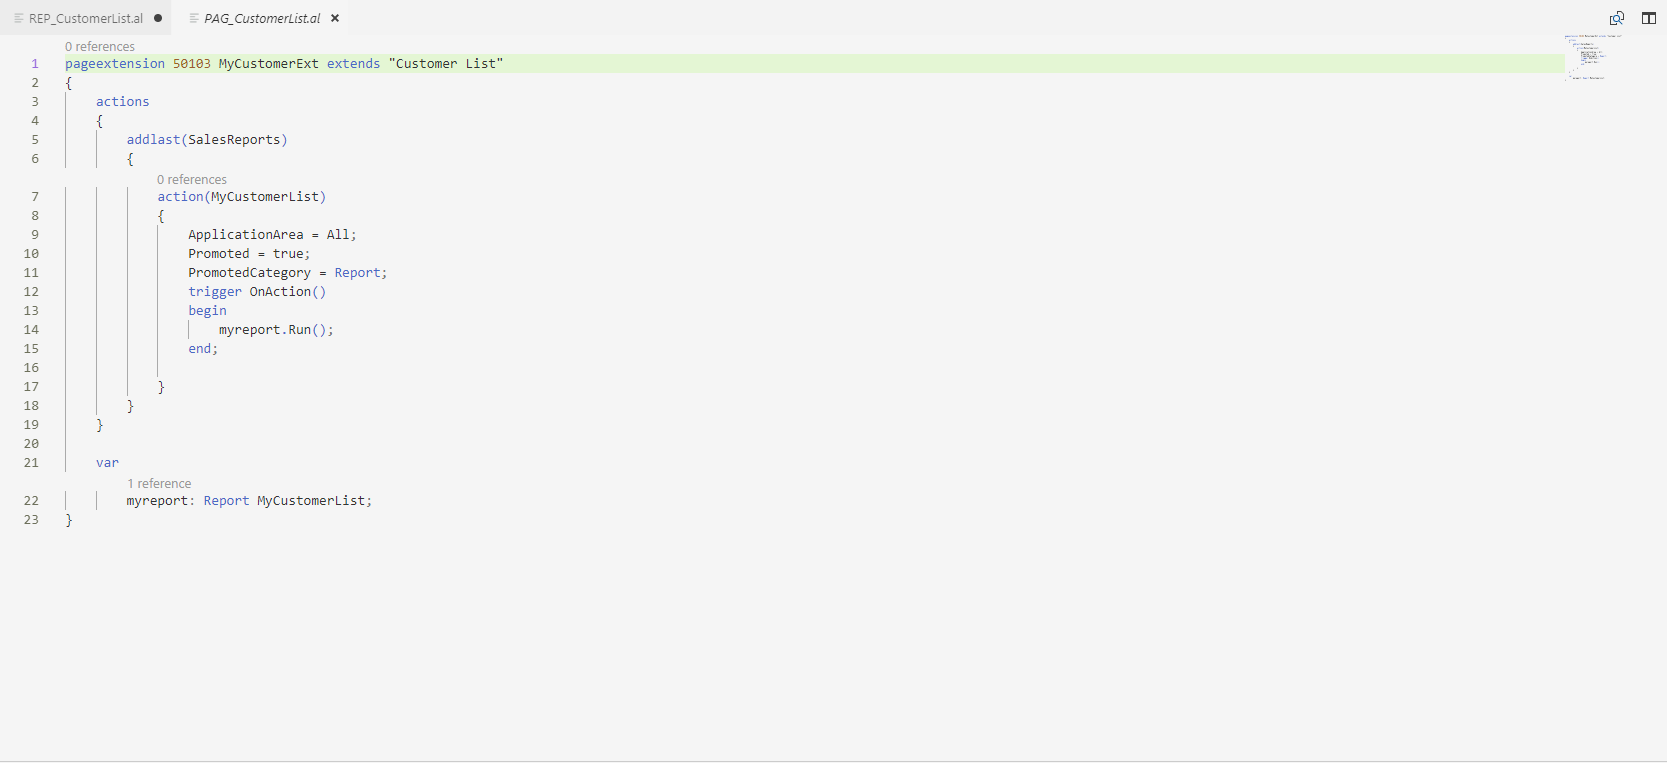
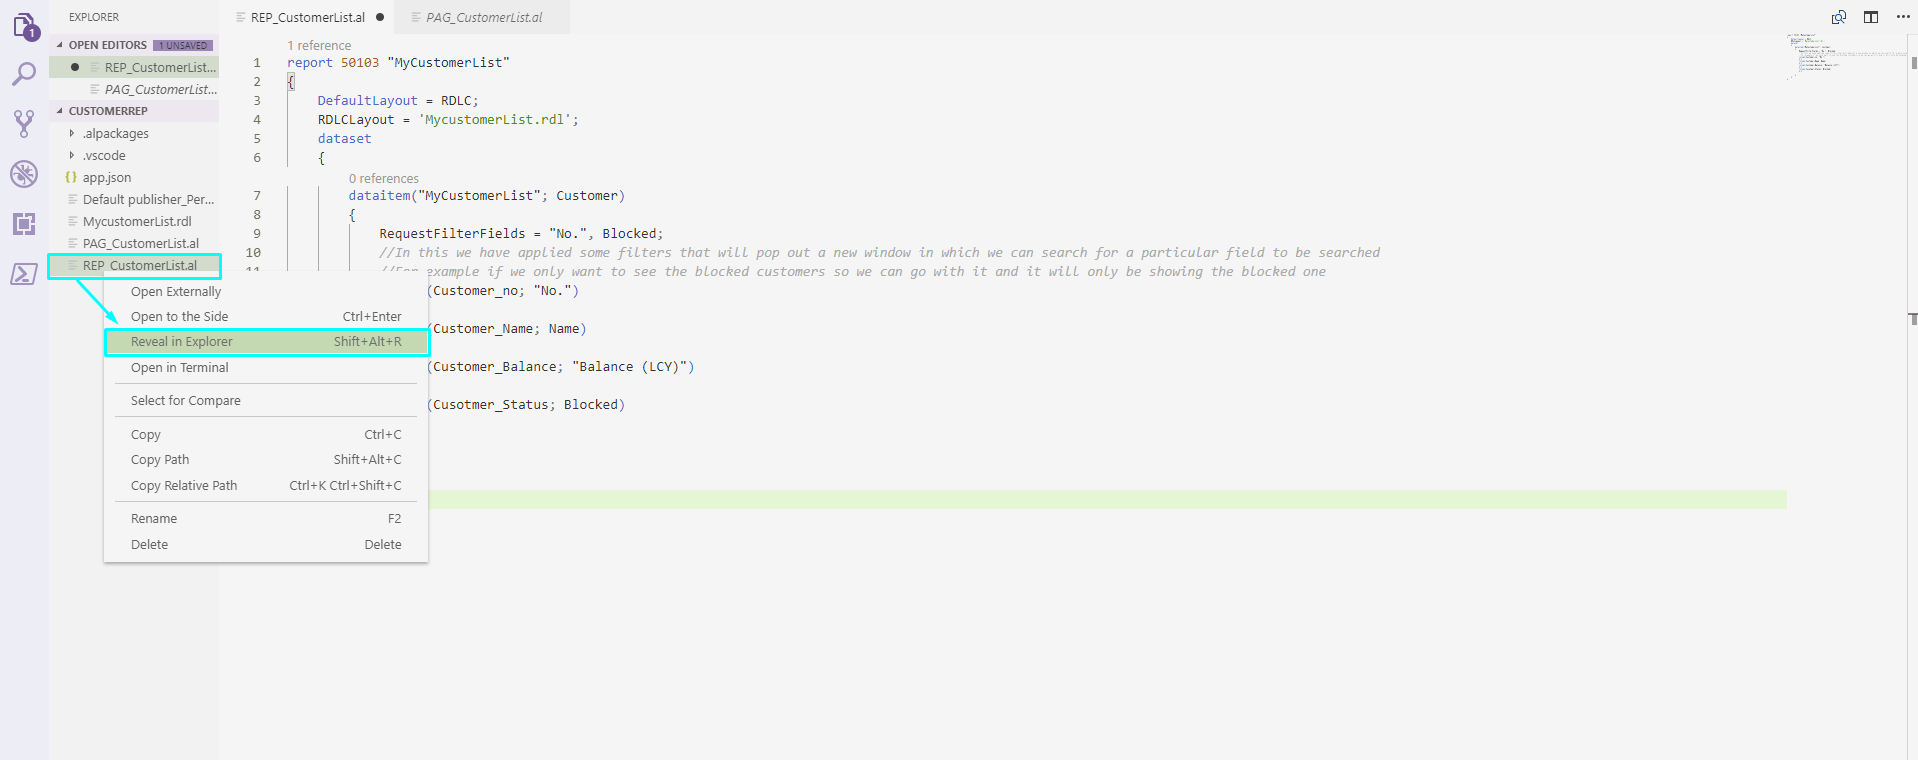
Figure 2 – The page extension for the Customer List in Microsoft Dynamics 365 Business Central or Dynamics NAV - Reveal the file in the explorer.
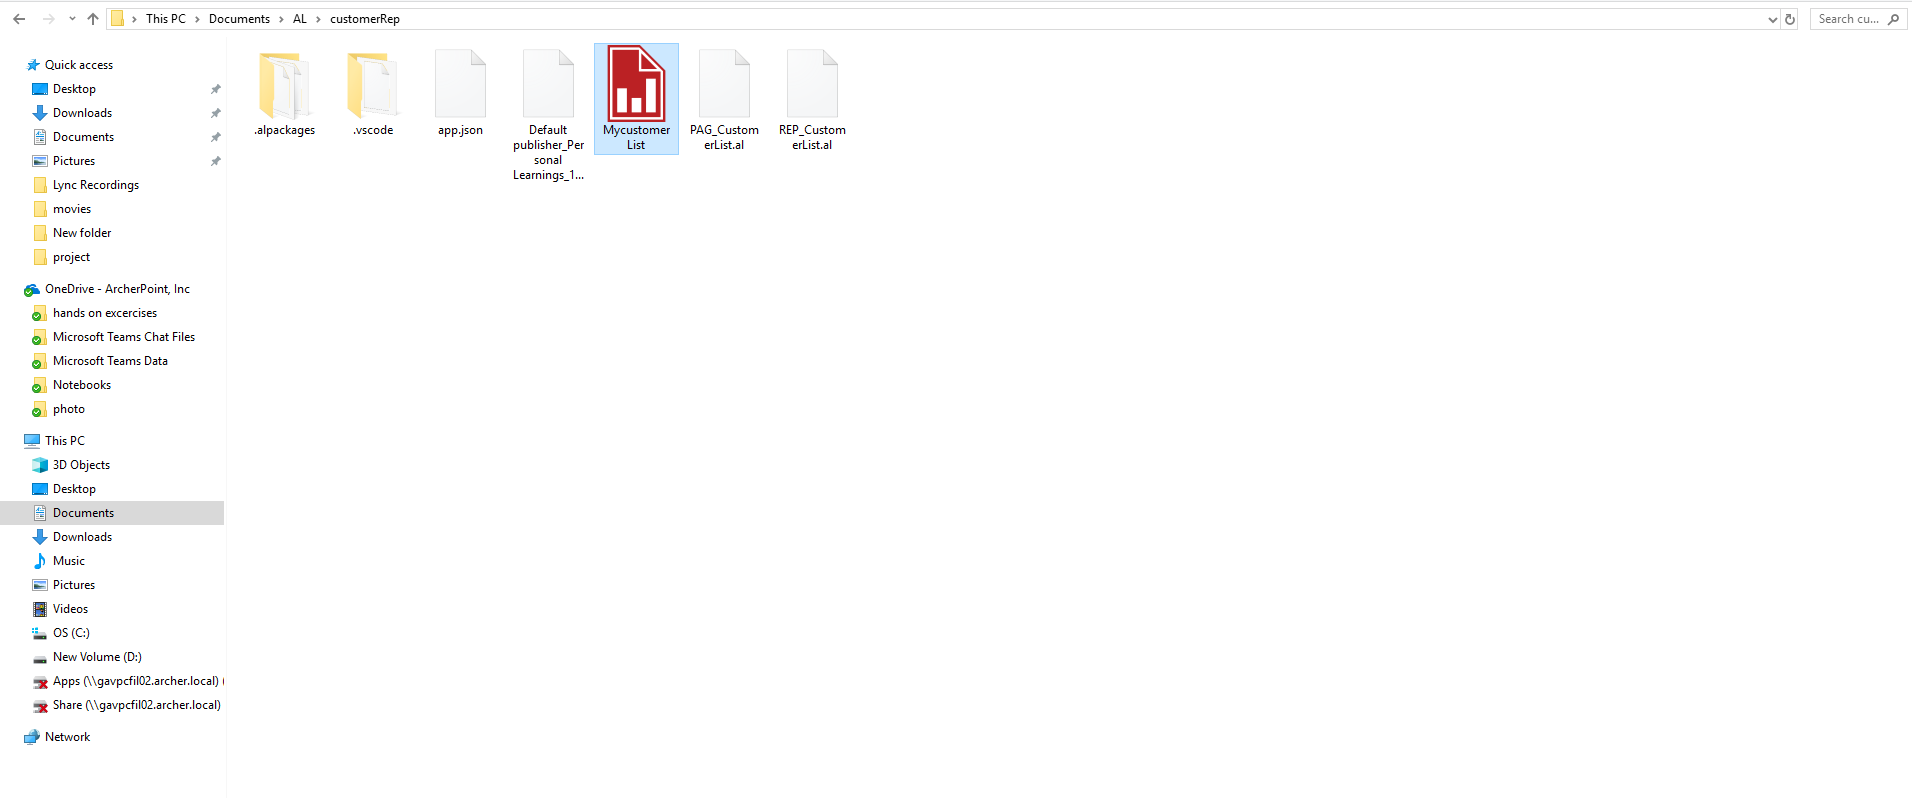
Figure 3 – Revealing the file in the explorer in Microsoft Dynamics 365 Business Central or Dynamics NAV - Open the report in the report builder to view what it looks like.
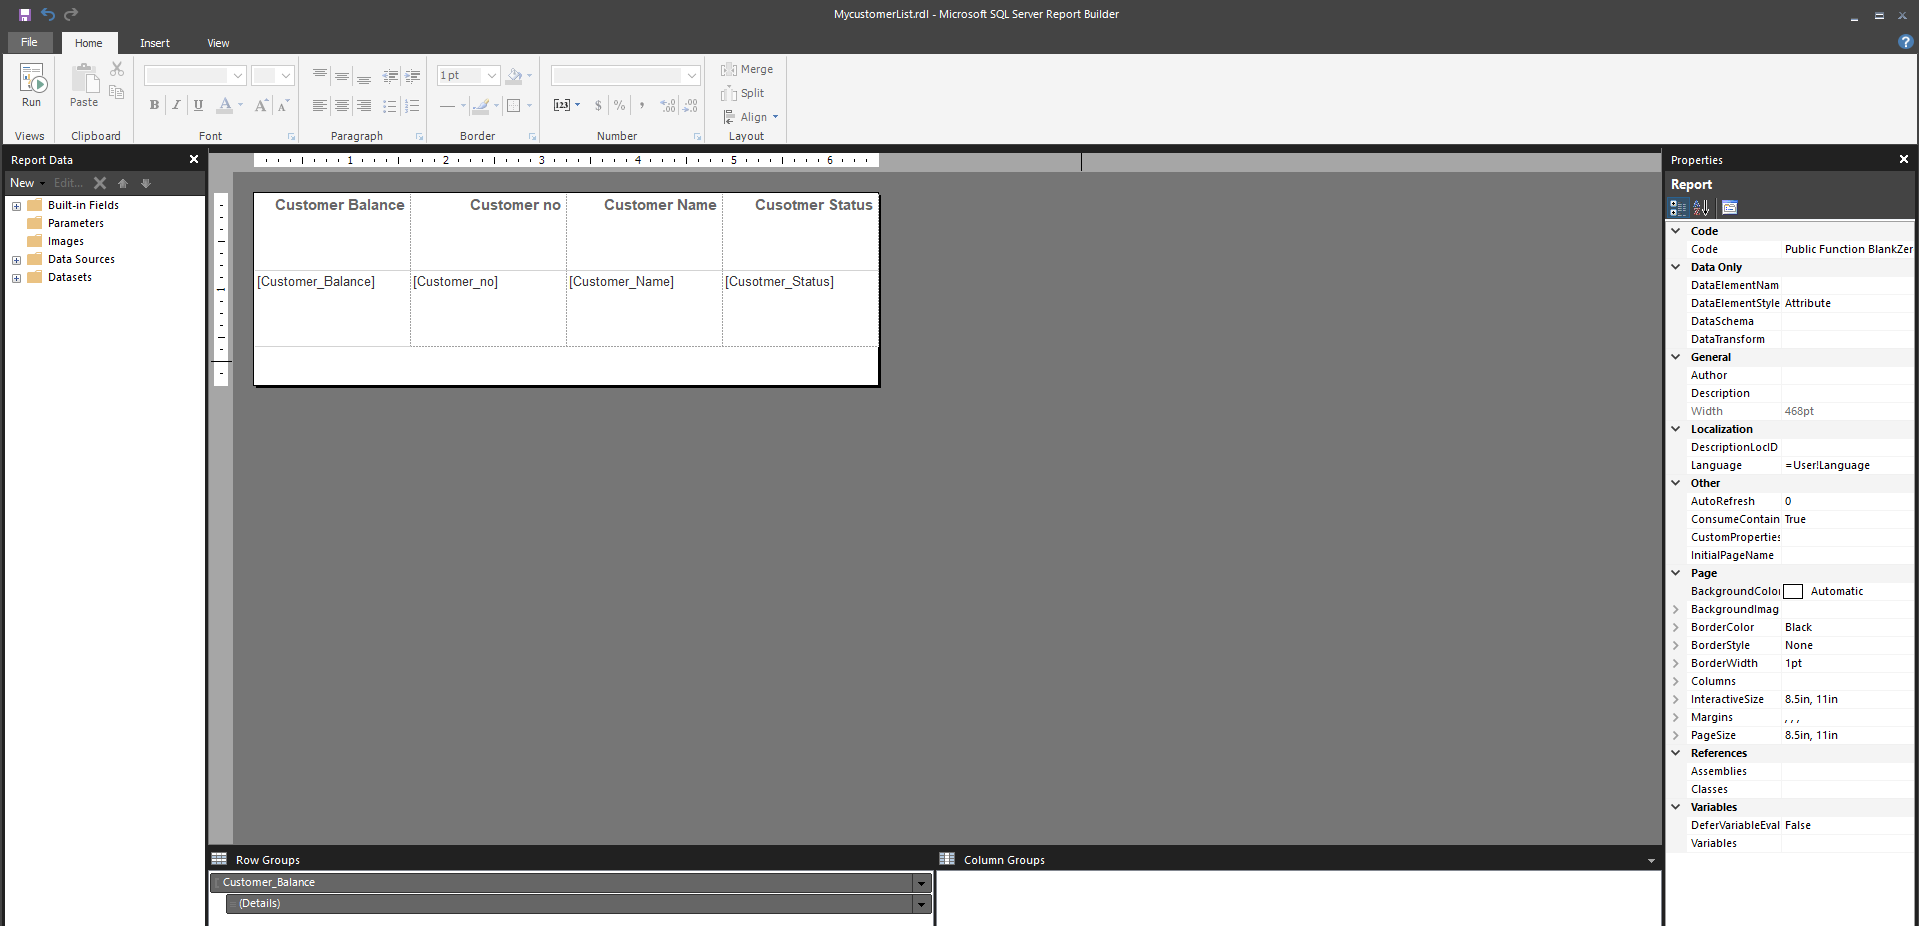
Figure 4 – Opening the report in the report builder in Microsoft Dynamics 365 Business Central or Dynamics NAV
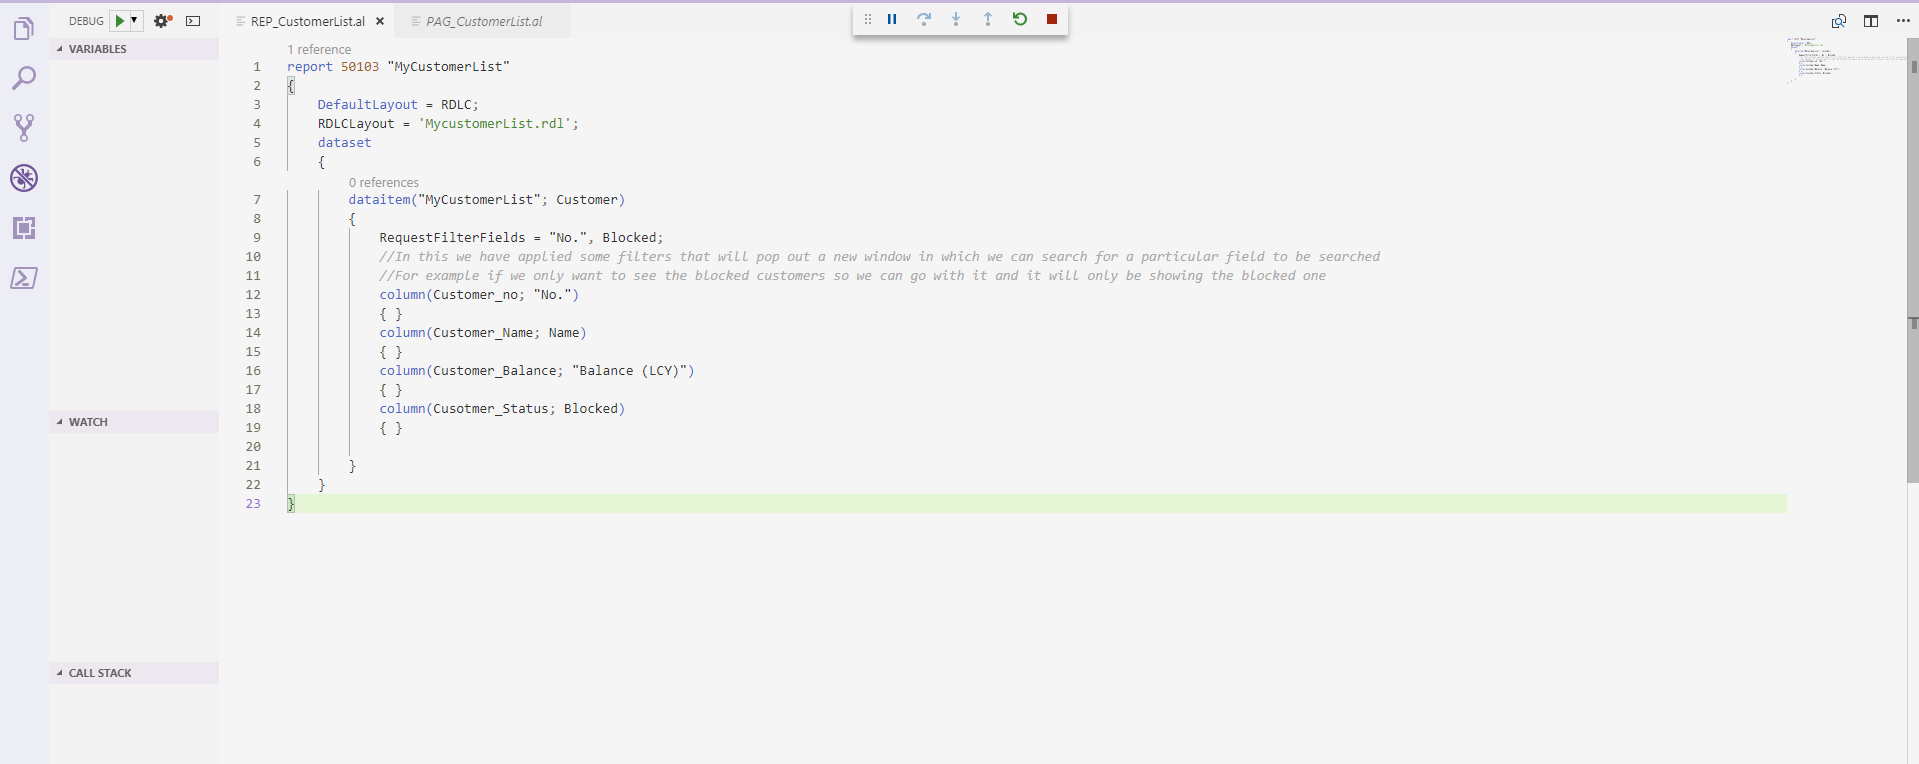
Figure 5 – The report builder displaying that the report is ready in Microsoft Dynamics 365 Business Central or Dynamics NAV - Once the report is ready, save it and publish the file using the shortcut “F5”.
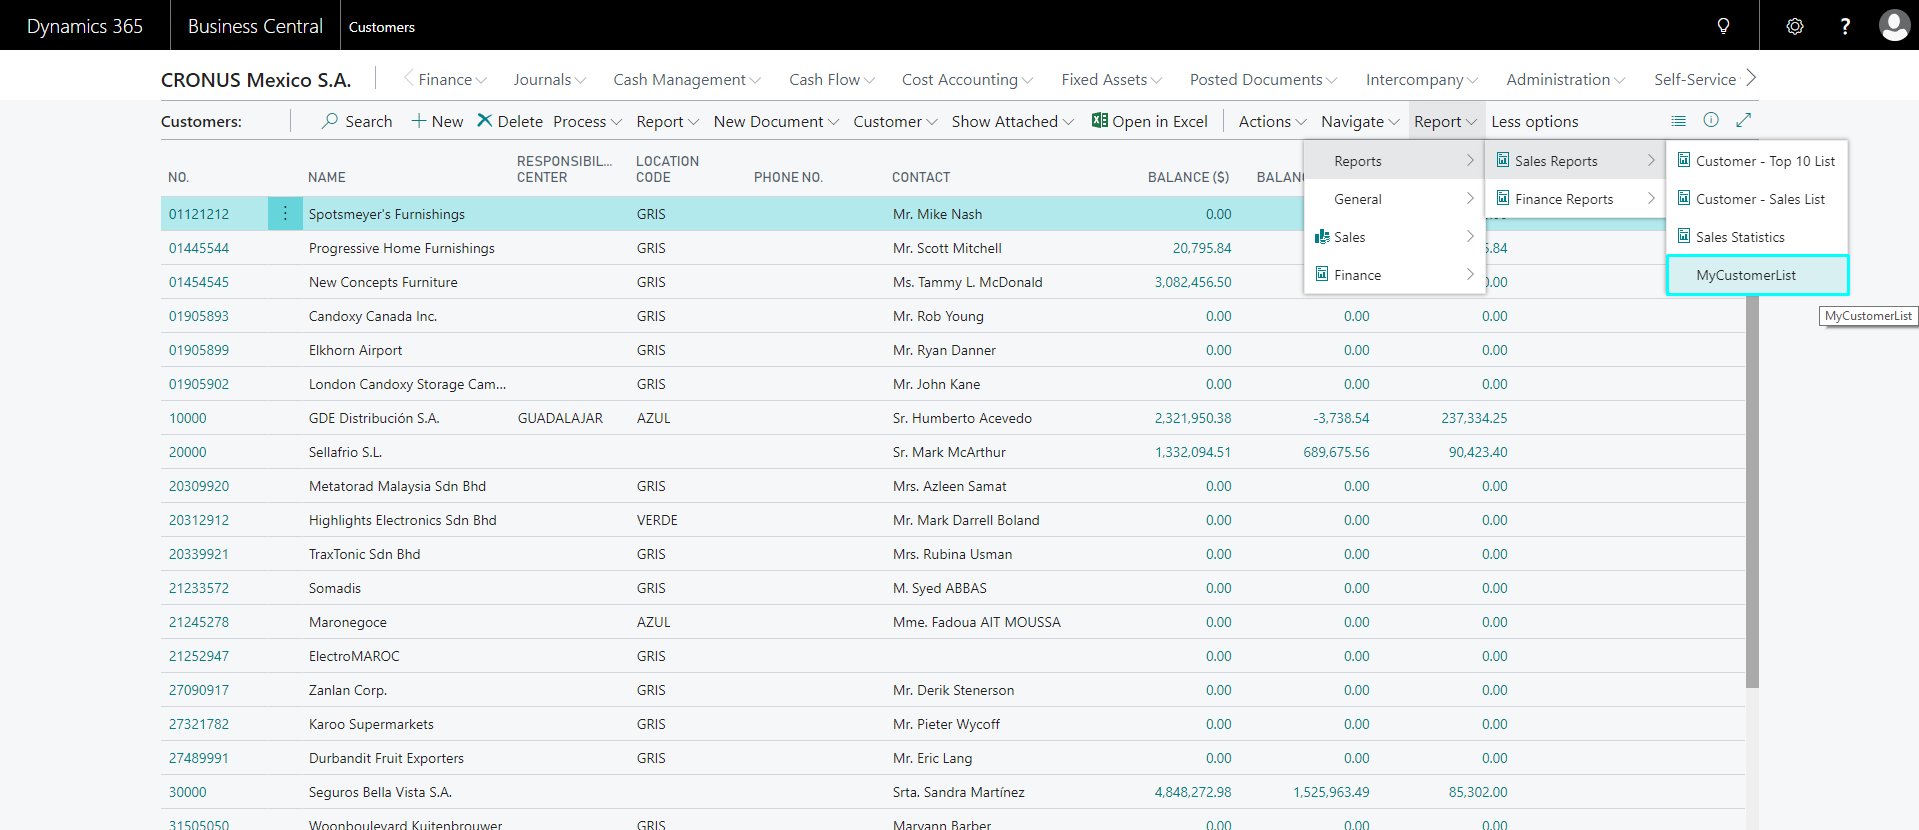
Figure 6 – Publishing the report in Microsoft Dynamics 365 Business Central or Dynamics NAV - Move to the button where the filter was placed.
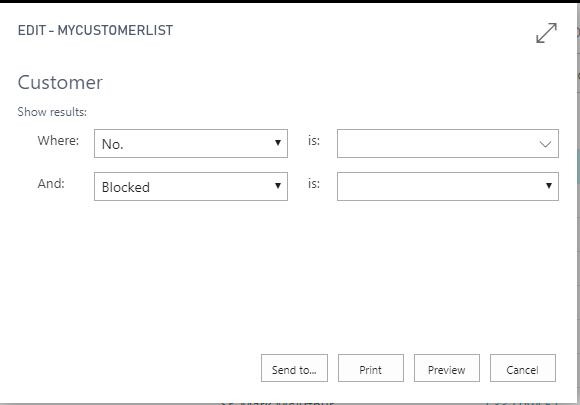
Figure 7 – The extension as created in the report builder in Microsoft Dynamics 365 Business Central or Dynamics NAV Figure 8 shows the filter window that asks about the various filters that can be applied the report is printed.
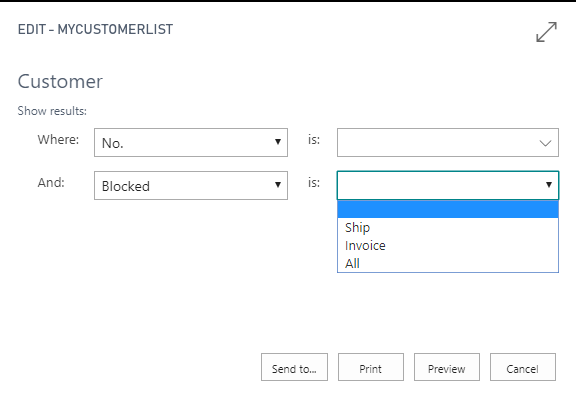
Figure 8 – The filter window in Microsoft Dynamics 365 Business Central or Dynamics NAV - Apply the filters. Since this example uses the Cronus database, some customers are also being blocked.
Figure 9 – Keeping the blocked field in Microsoft Dynamics 365 Business Central or Dynamics NAV
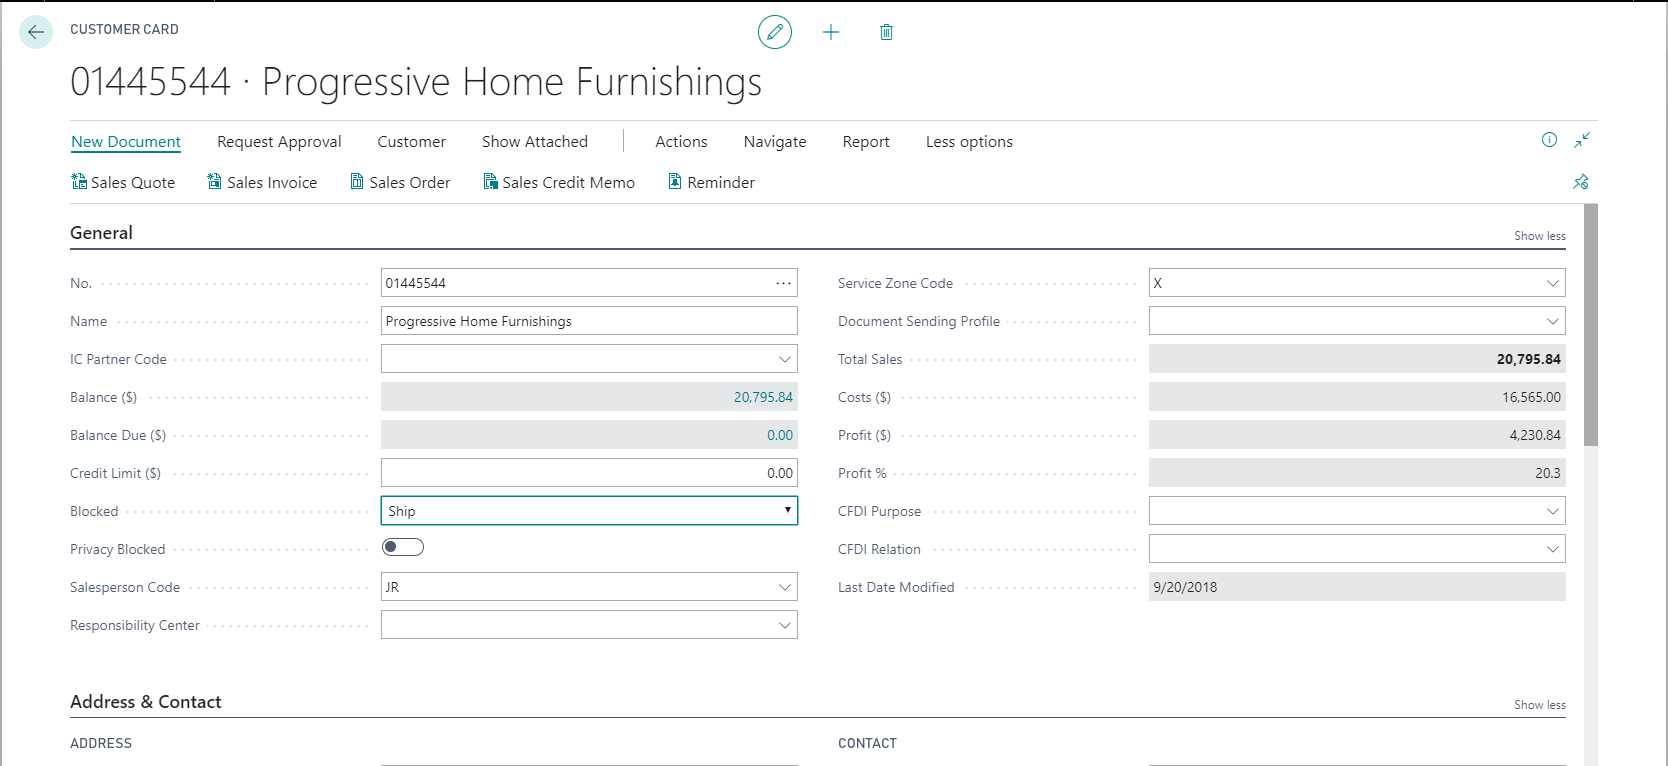
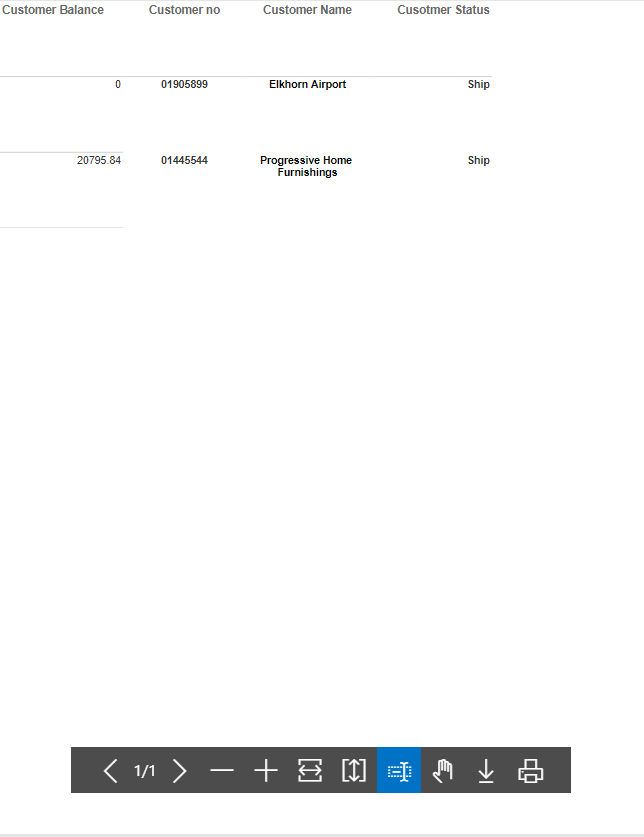
Figure 10 shows an example of a customer with the filters “Blocked”>> “Ship” is Progressive Home Furnishings. The customer Elkhorn Airport also has these filters.
Figure 10 – Customer record within Microsoft Dynamics 365 Business Central or Dynamics NAV
Figure 11 shows what the printed report looks like:
Figure 11 – Report with Customer Status = “Ship” in Microsoft Dynamics 365 Business Central or Dynamics NAV
If you have any questions about report building or other Dynamics 365 Business Central or NAV questions for any version, contact ArcherPoint.
Read more “How To” blogs from ArcherPoint for practical advice on using Microsoft Dynamics 365 Business Central or NAV.
If you are interested in NAV or 365 Business Central development, check out our collection of NAV and Business Central Development Blogs.

