
How to Setup Microsoft Dynamics 365 Business Central

Microsoft Dynamics 365 Business Central was released in June of 2018. If you haven’t had a chance to check it out, now is the time. If your company has purchased it, this blog provides step-by-step instructions on how to install it on your device.
- Download Microsoft Dynamics Business Central.
- Unzip the “Dynamics365BusinessCentralNA” folder.
- Double click on “Setup” and answer “Yes” to Administrator access to proceed with the installation.
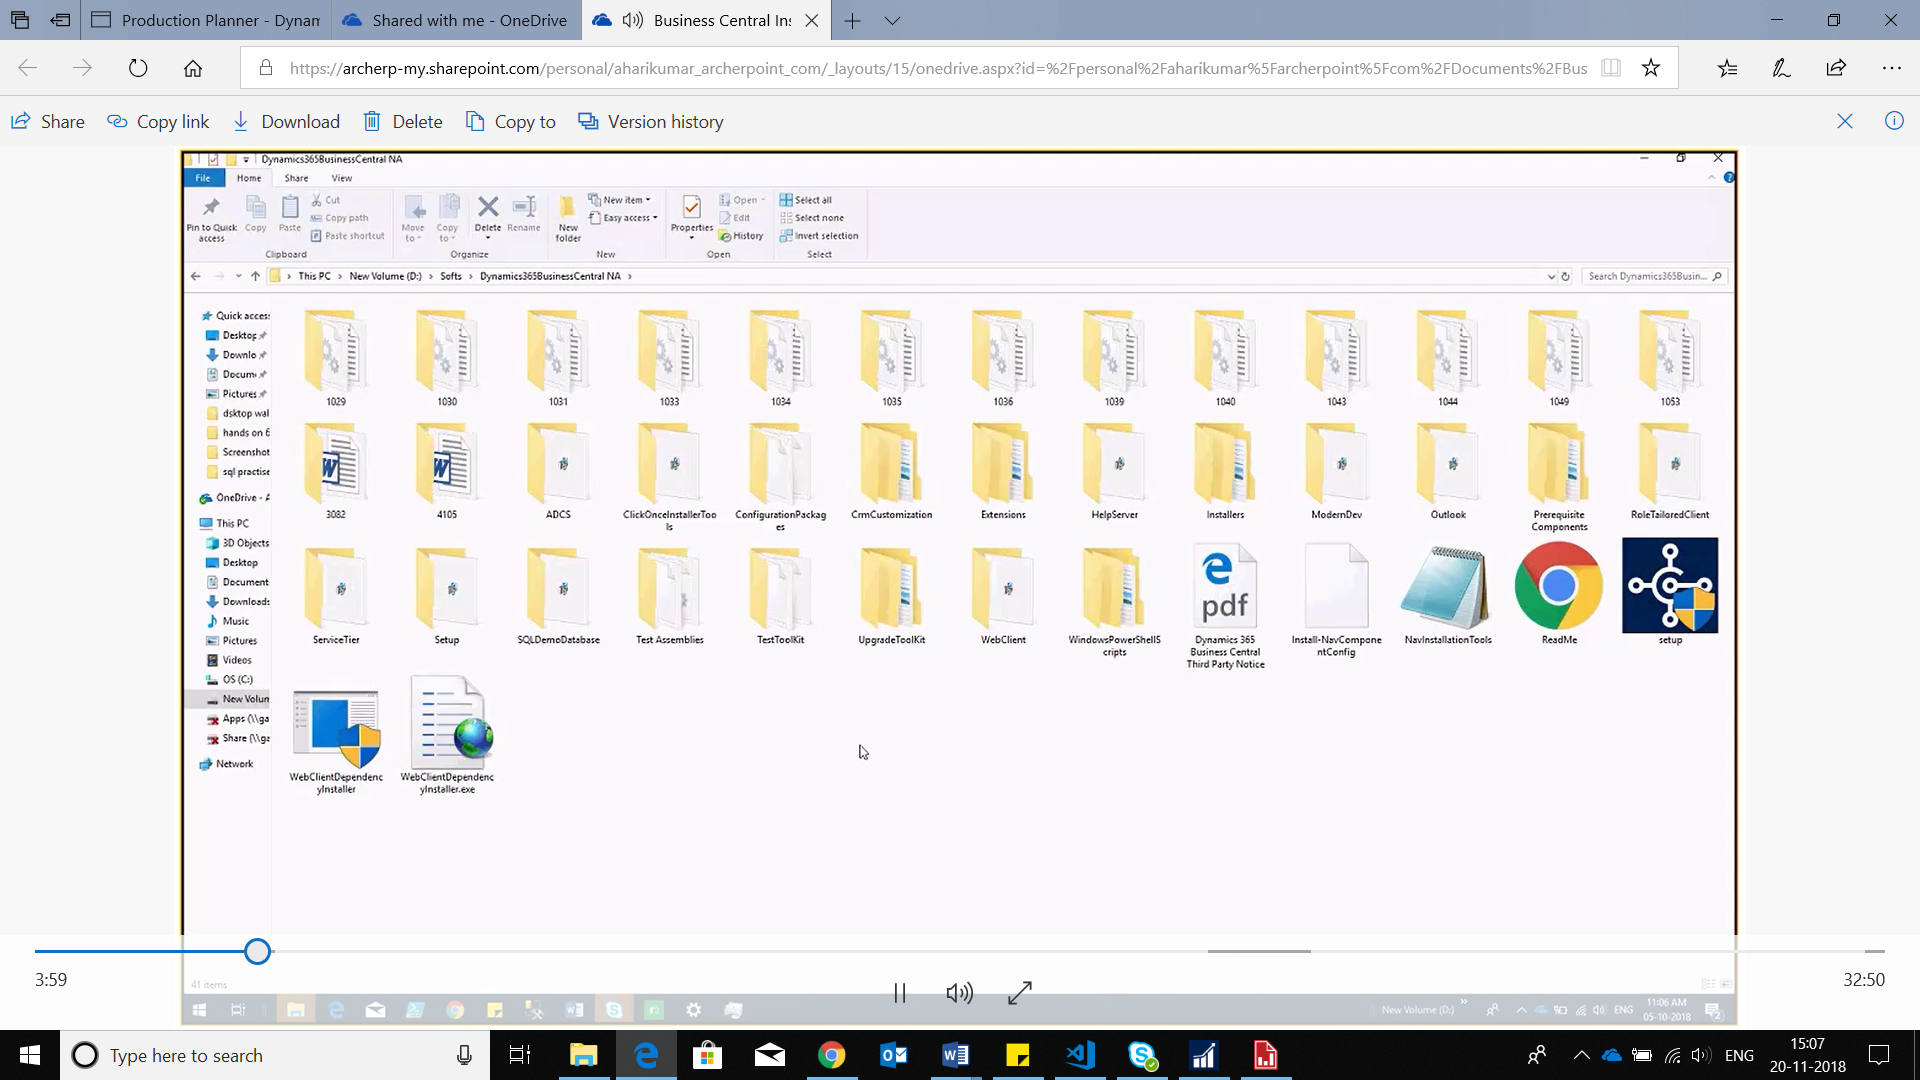
Figure 1: Selecting Setup Folder in Dynamics 365 Business Central. - MSD365BC Window pops up and Click on Next.
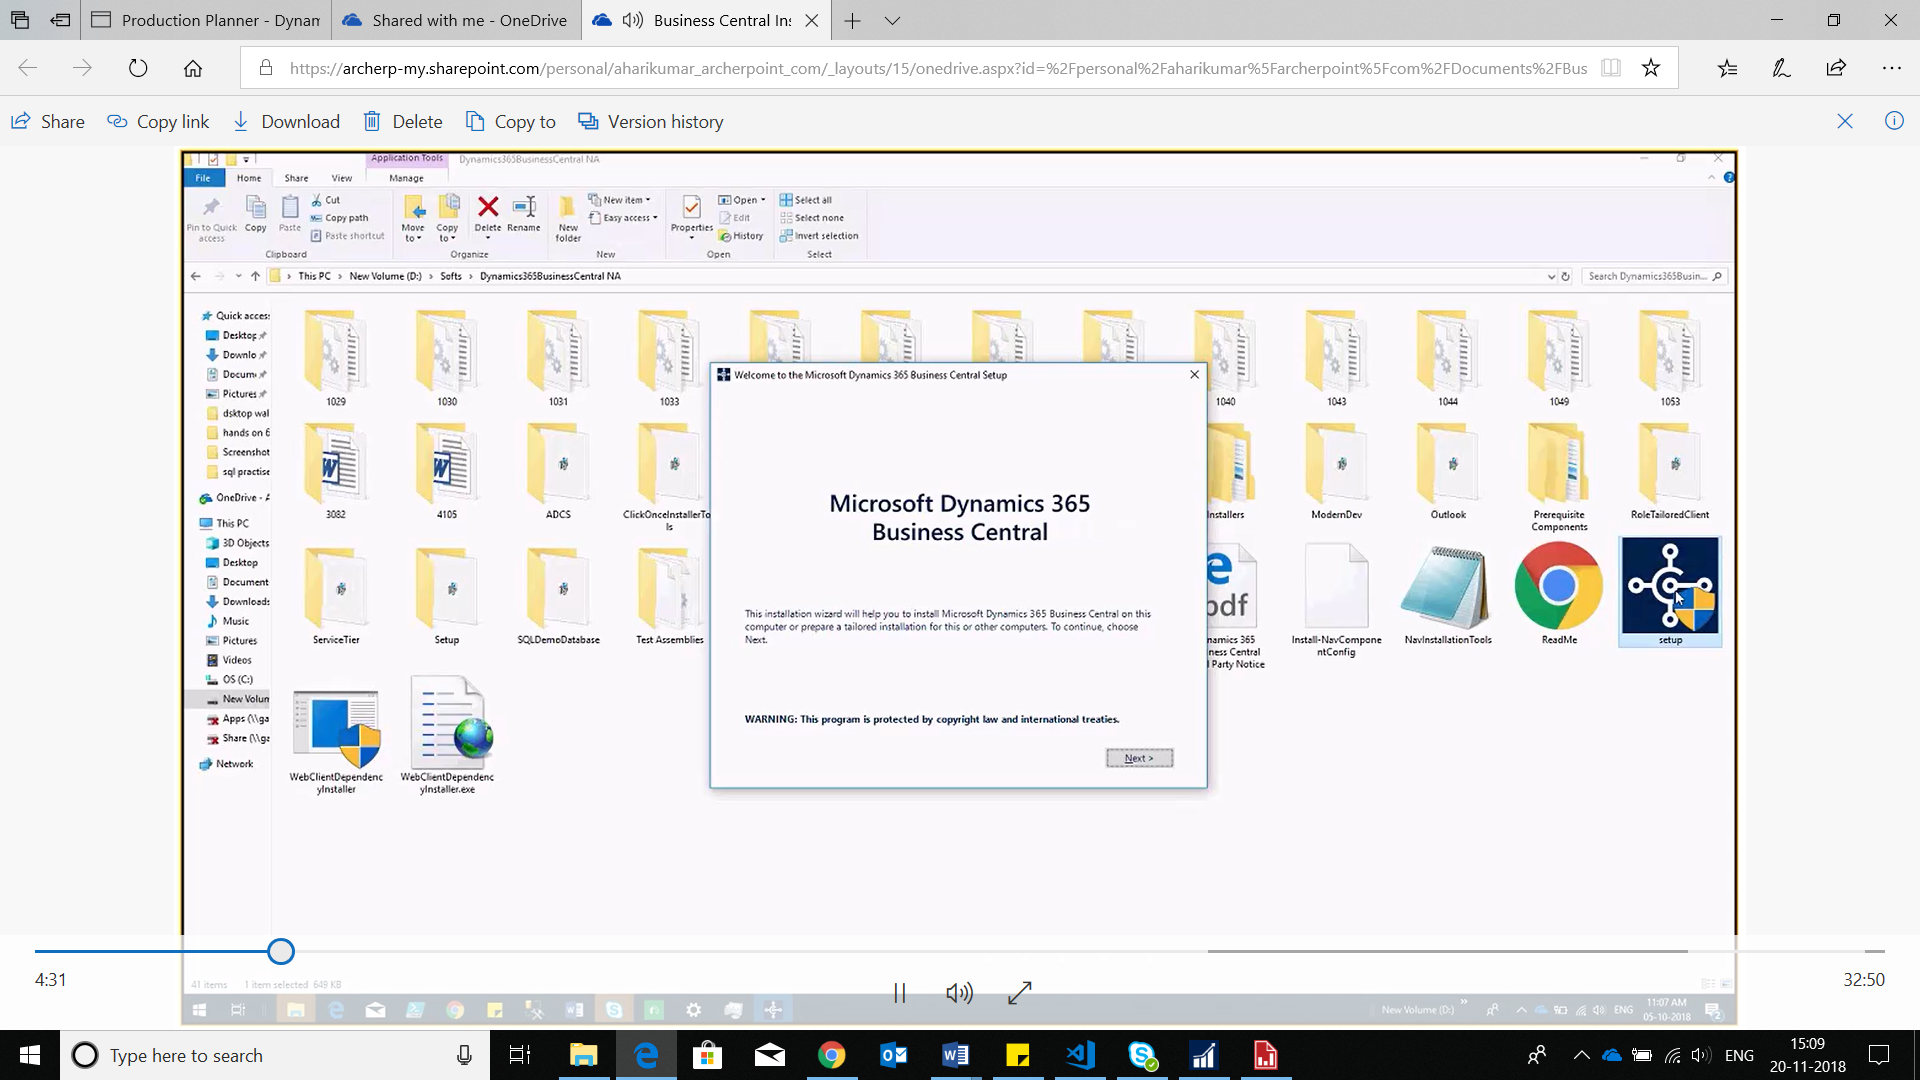
Figure 2: MSD365BC Dialog Box in Dynamics 365 Business Central - Select Advanced Installation Option.
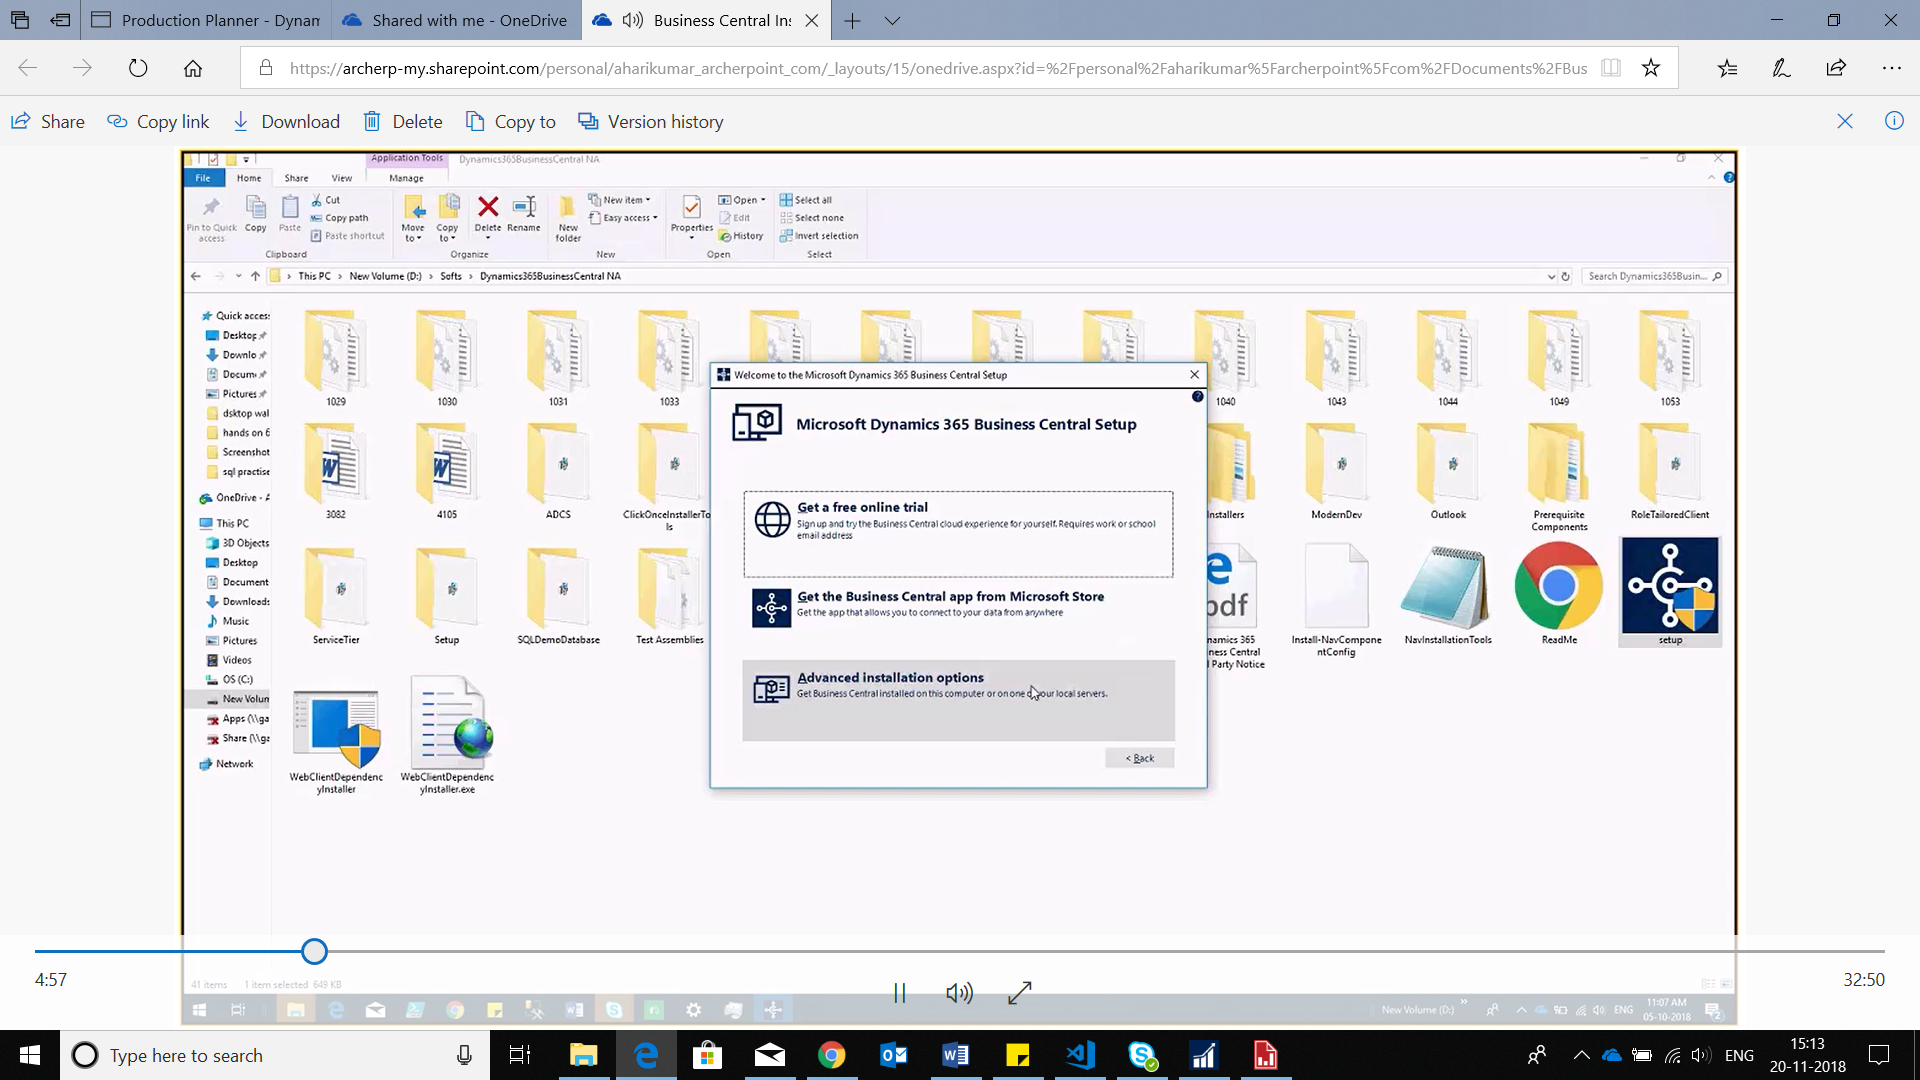
Figure 3. Selecting Advanced Installation Option in Dynamics 365 Business Central - Select Choose an installation option.
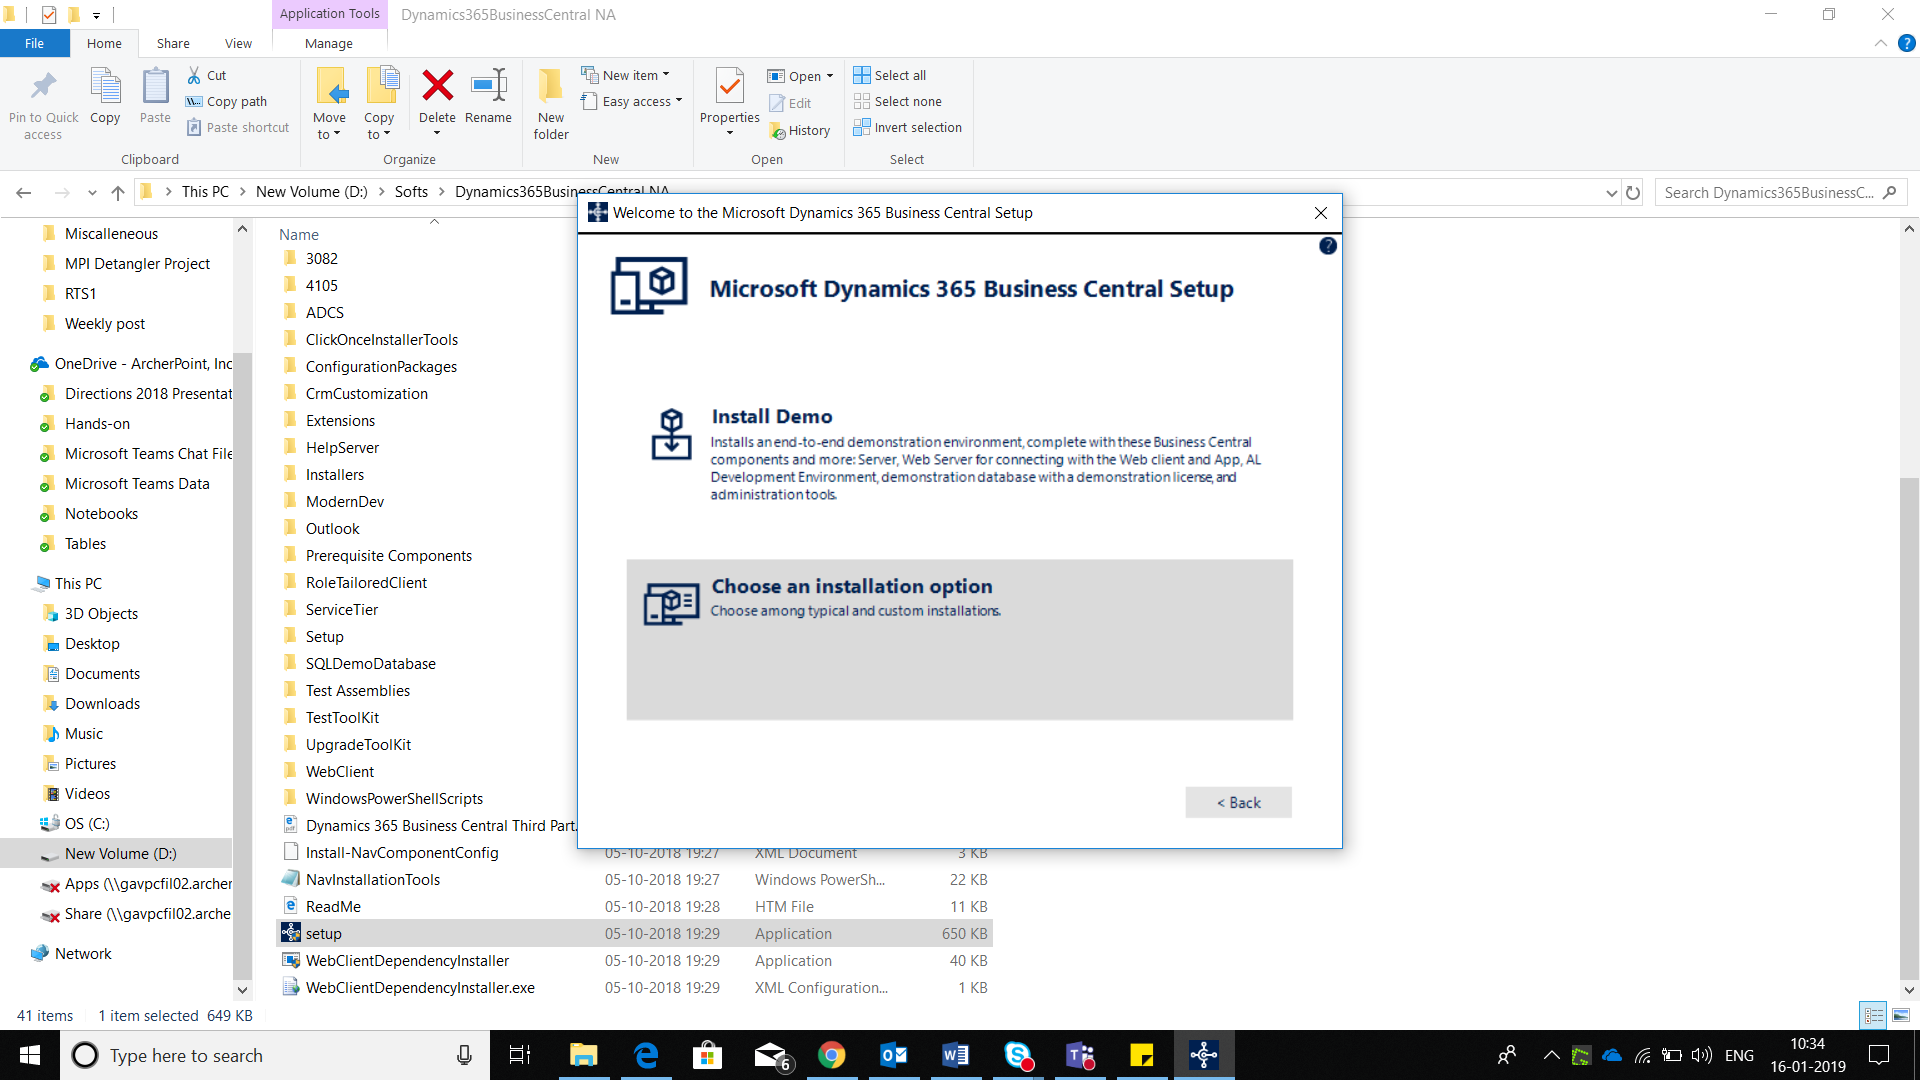
Figure 4: Choose an installation option - Select an installation based upon your requirements.
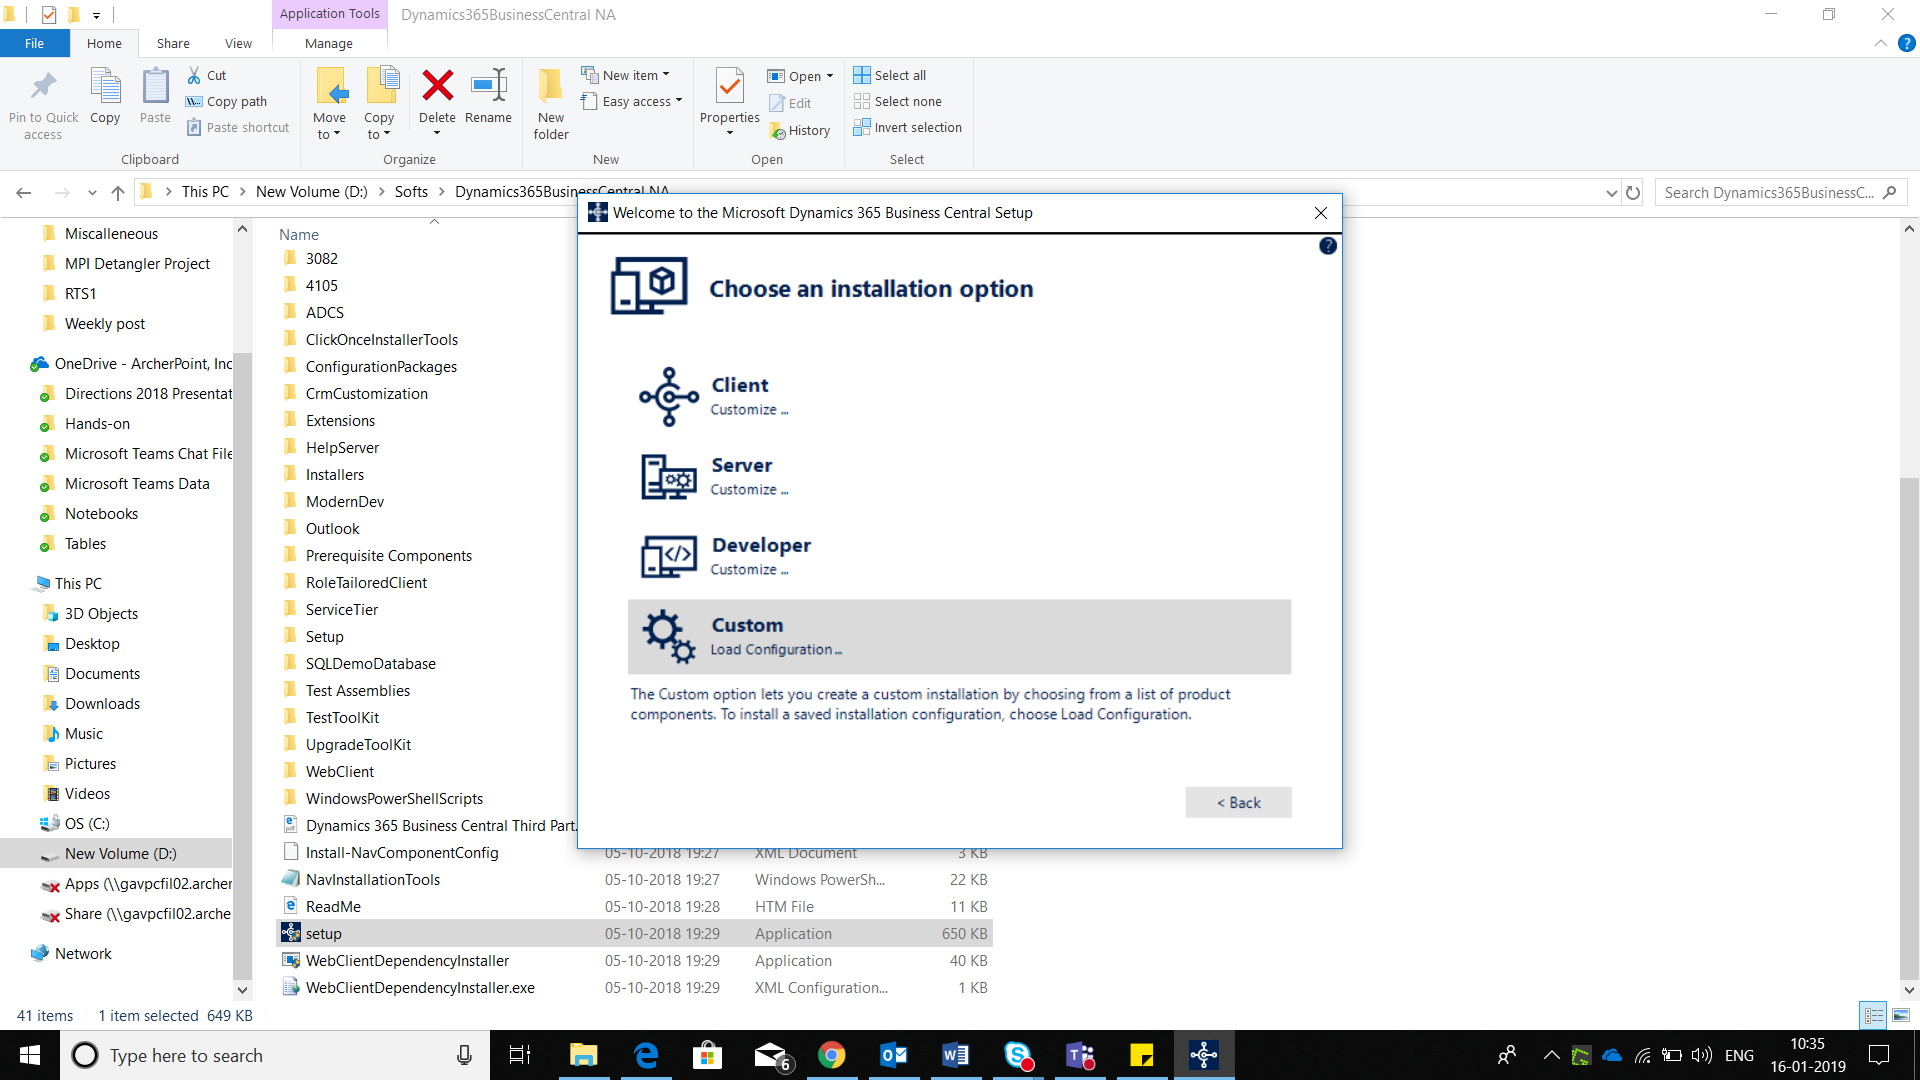
Figure 5: Custom installation of Dynamics 365 Business Central. - Select the components of your interest to be installed on your system.
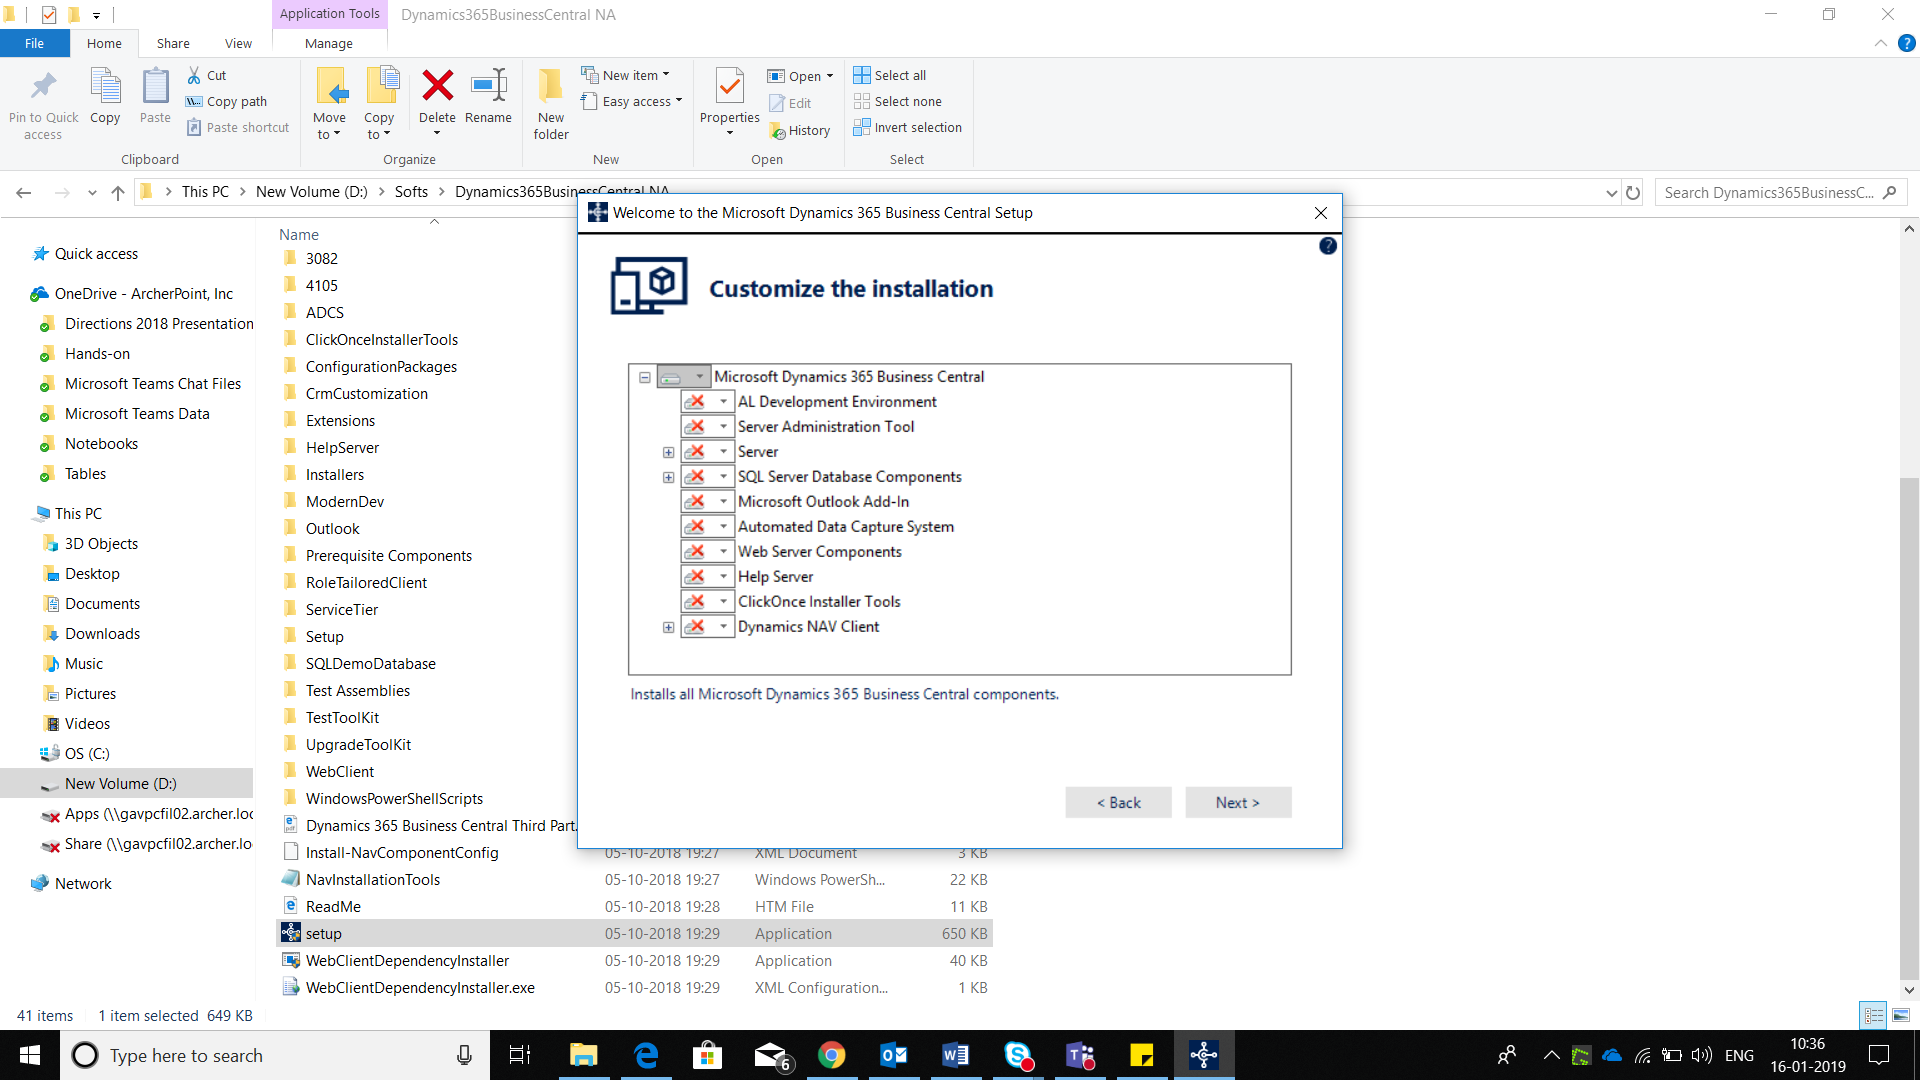
Figure 6: Microsoft Dynamics Business Central component selection.Component Description:AL Development Environment: An AL language extension for Visual Studio Code for developing applications and extensions.
Server Administration Tool: A Microsoft Management Console (MMC) for creating and configuring Business Central Server instances.
Server: Business Central Server is a .NET-based Windows Service application that uses Windows Communication Framework to handle communication between clients and databases. It controls authentication, event logging, scheduled tasks, reporting and more.
SQL Server Database Components: An SQL Server or Azure SQL Database contains application object definitions and business data.
Microsoft Outlook Add-in: A component to synchronize data, such as to-dos, contacts, and tasks, between Business Central and Outlook. The Outlook Add-In uses Business Central web services.
Automated Data Capture System: A system that tracks the movement of items in a warehouse.
Web Server Components: An Internet Information Server (IIS) web site, provisioned with the Business Central Web Server components, that enables access from the Business Central Web client and mobile apps.
Help Server: It is a website that installs on the specified server. The website includes Search and other navigation, and it provides context-sensitive Help for Microsoft Dynamics NAV Web client and Microsoft Dynamics NAV Windows client.
Clickonce Installer Tools: Tools for implementing ClickOnce installation for the Dynamics NAV Client connected to Business Central.
Dynamics NAV Client: It installs the Microsoft Dynamics NAV Windows Client in the system.
- Right click on the component of your interest and select run or run all from my computer, according to your requirement.
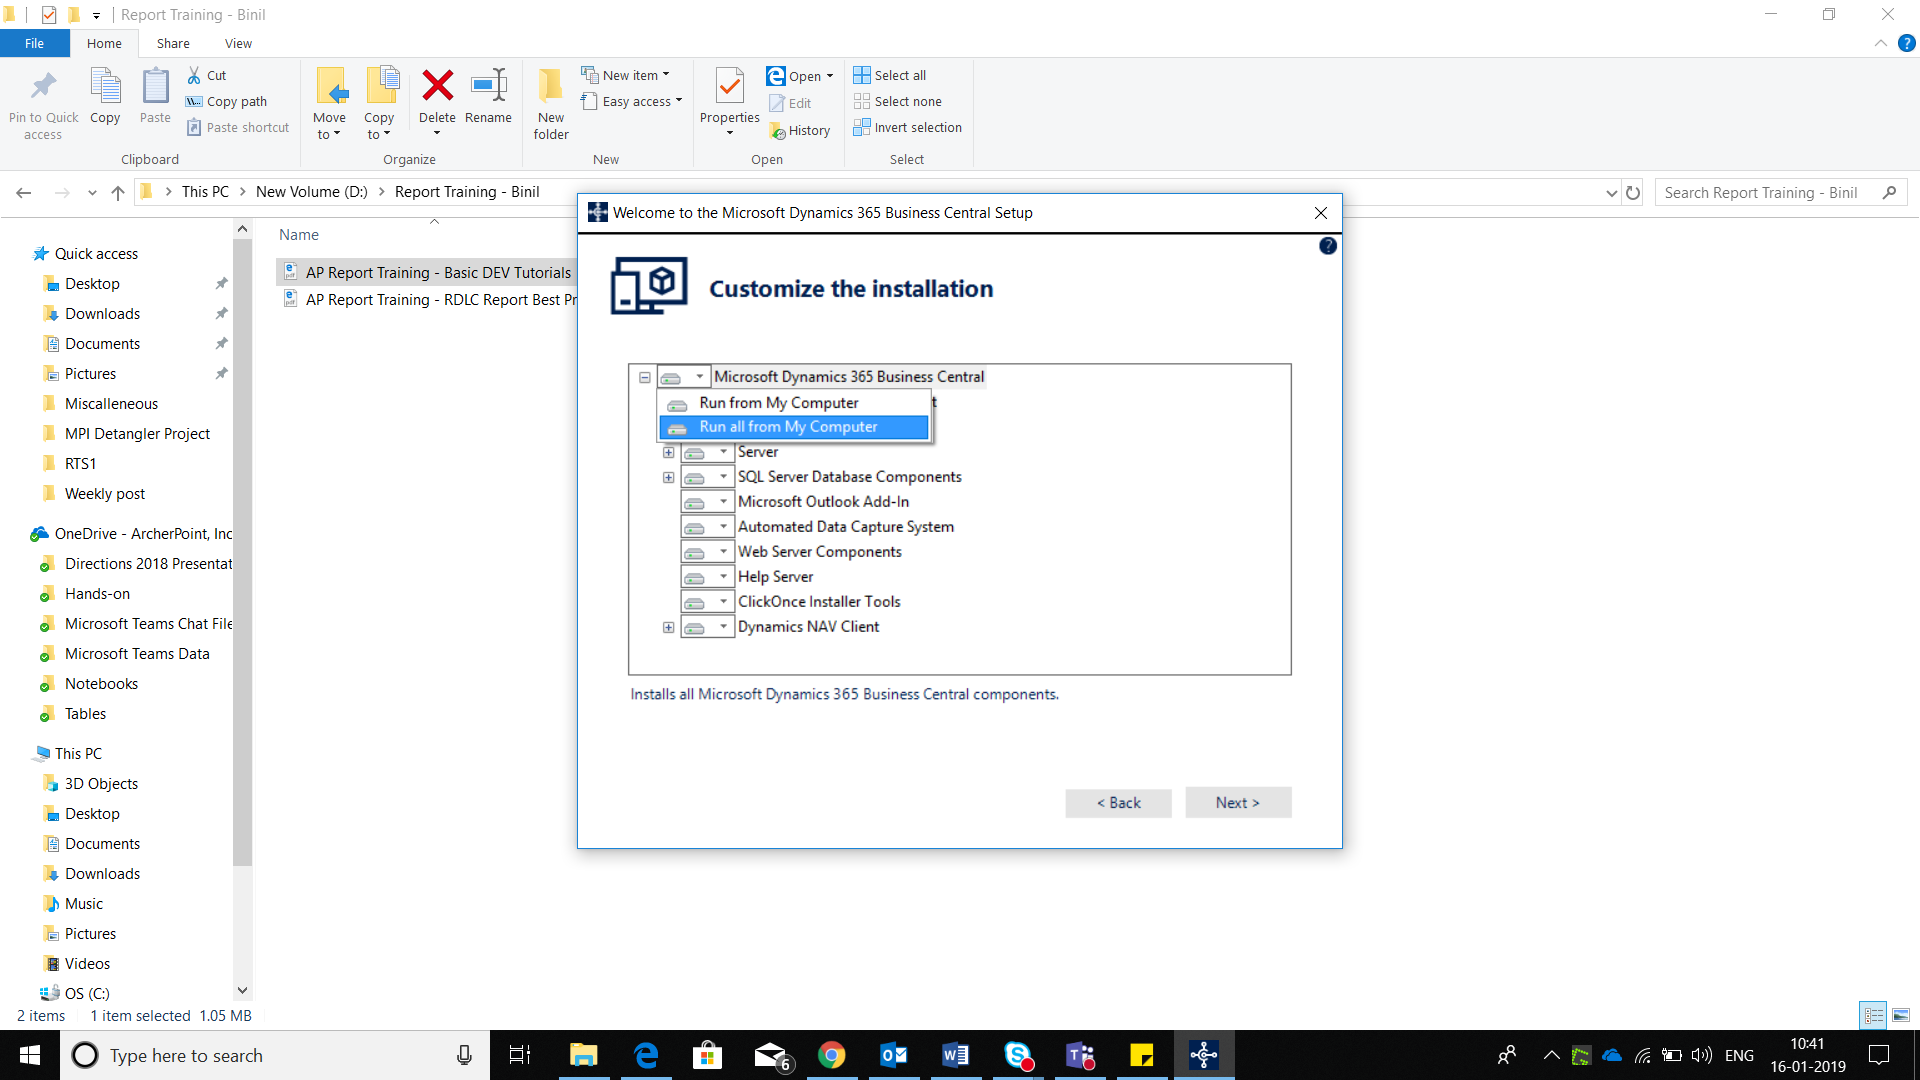
Figure 7: Installs all Dynamics 365 Business Central/NAV components. - Check and change the parameters per your requirements.
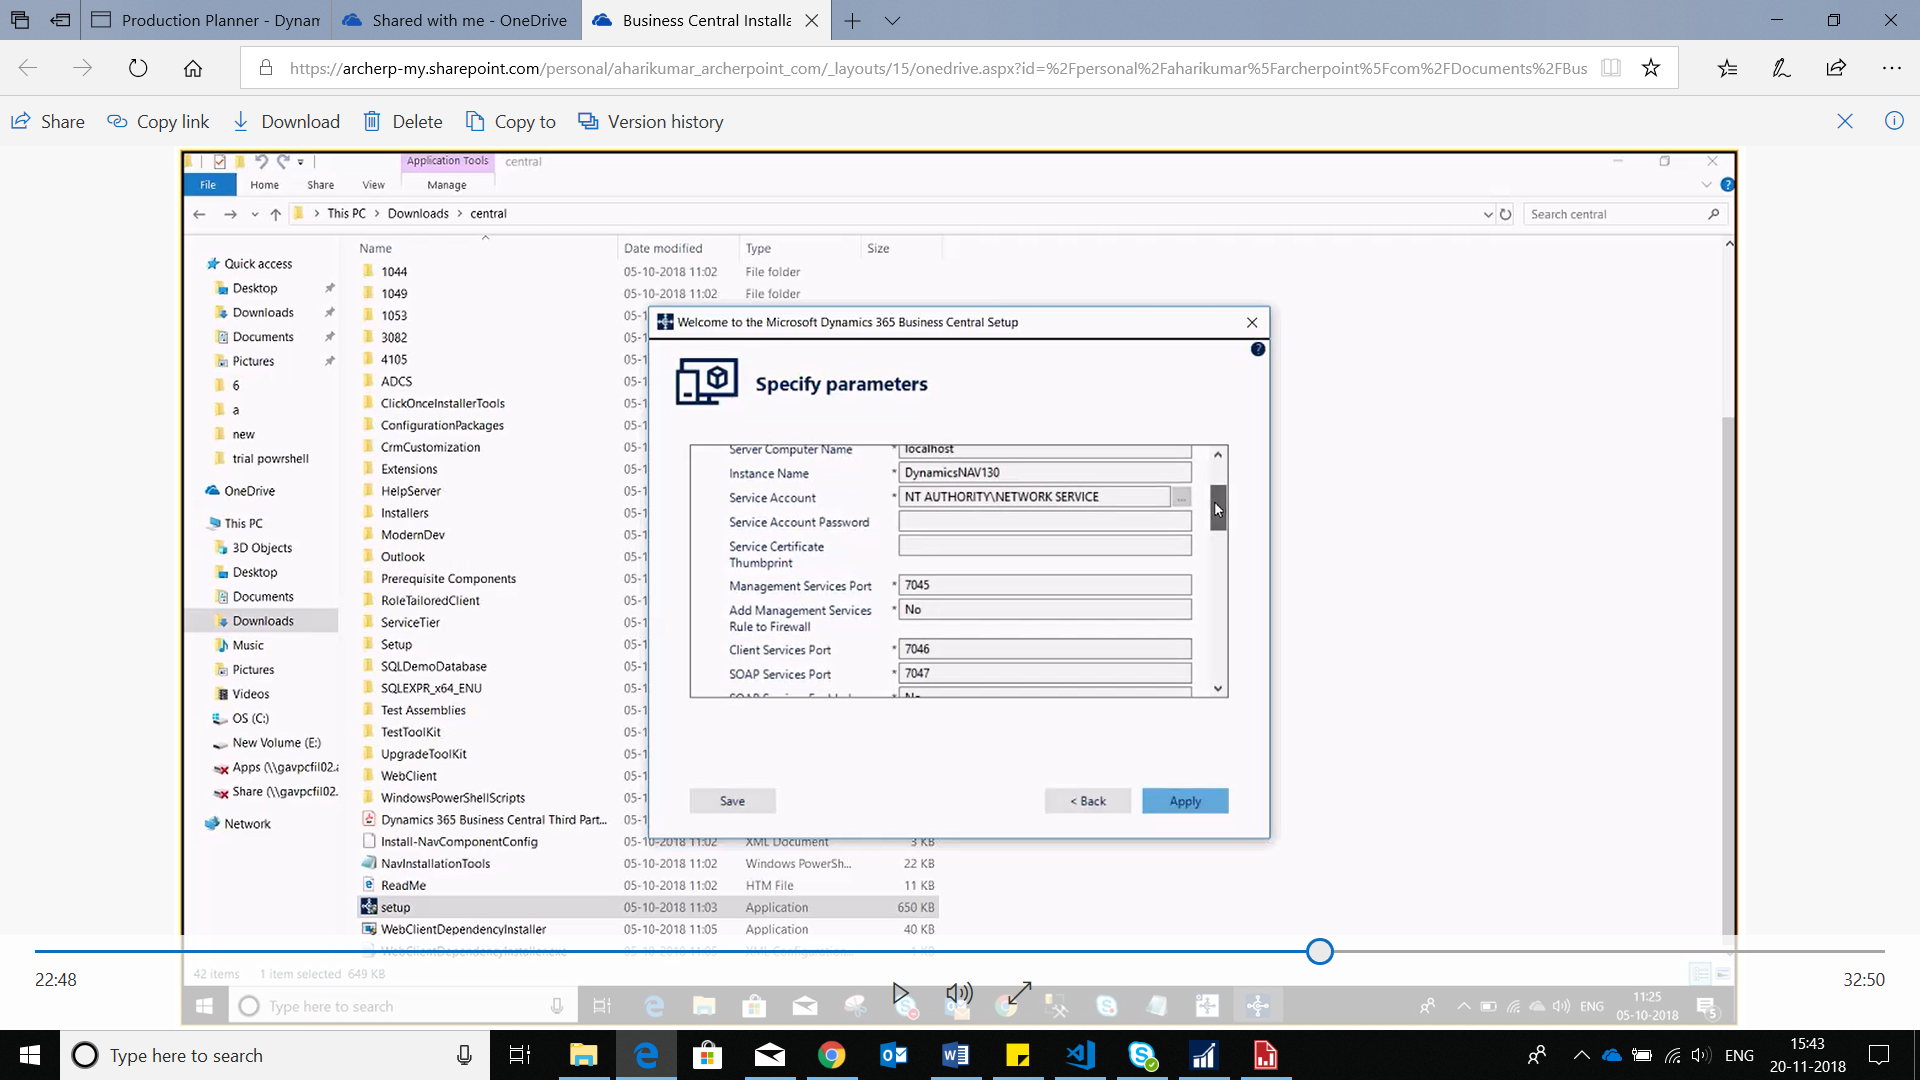
Figure 8: Parameter check when installing Dynamics 365 Business Central/NAV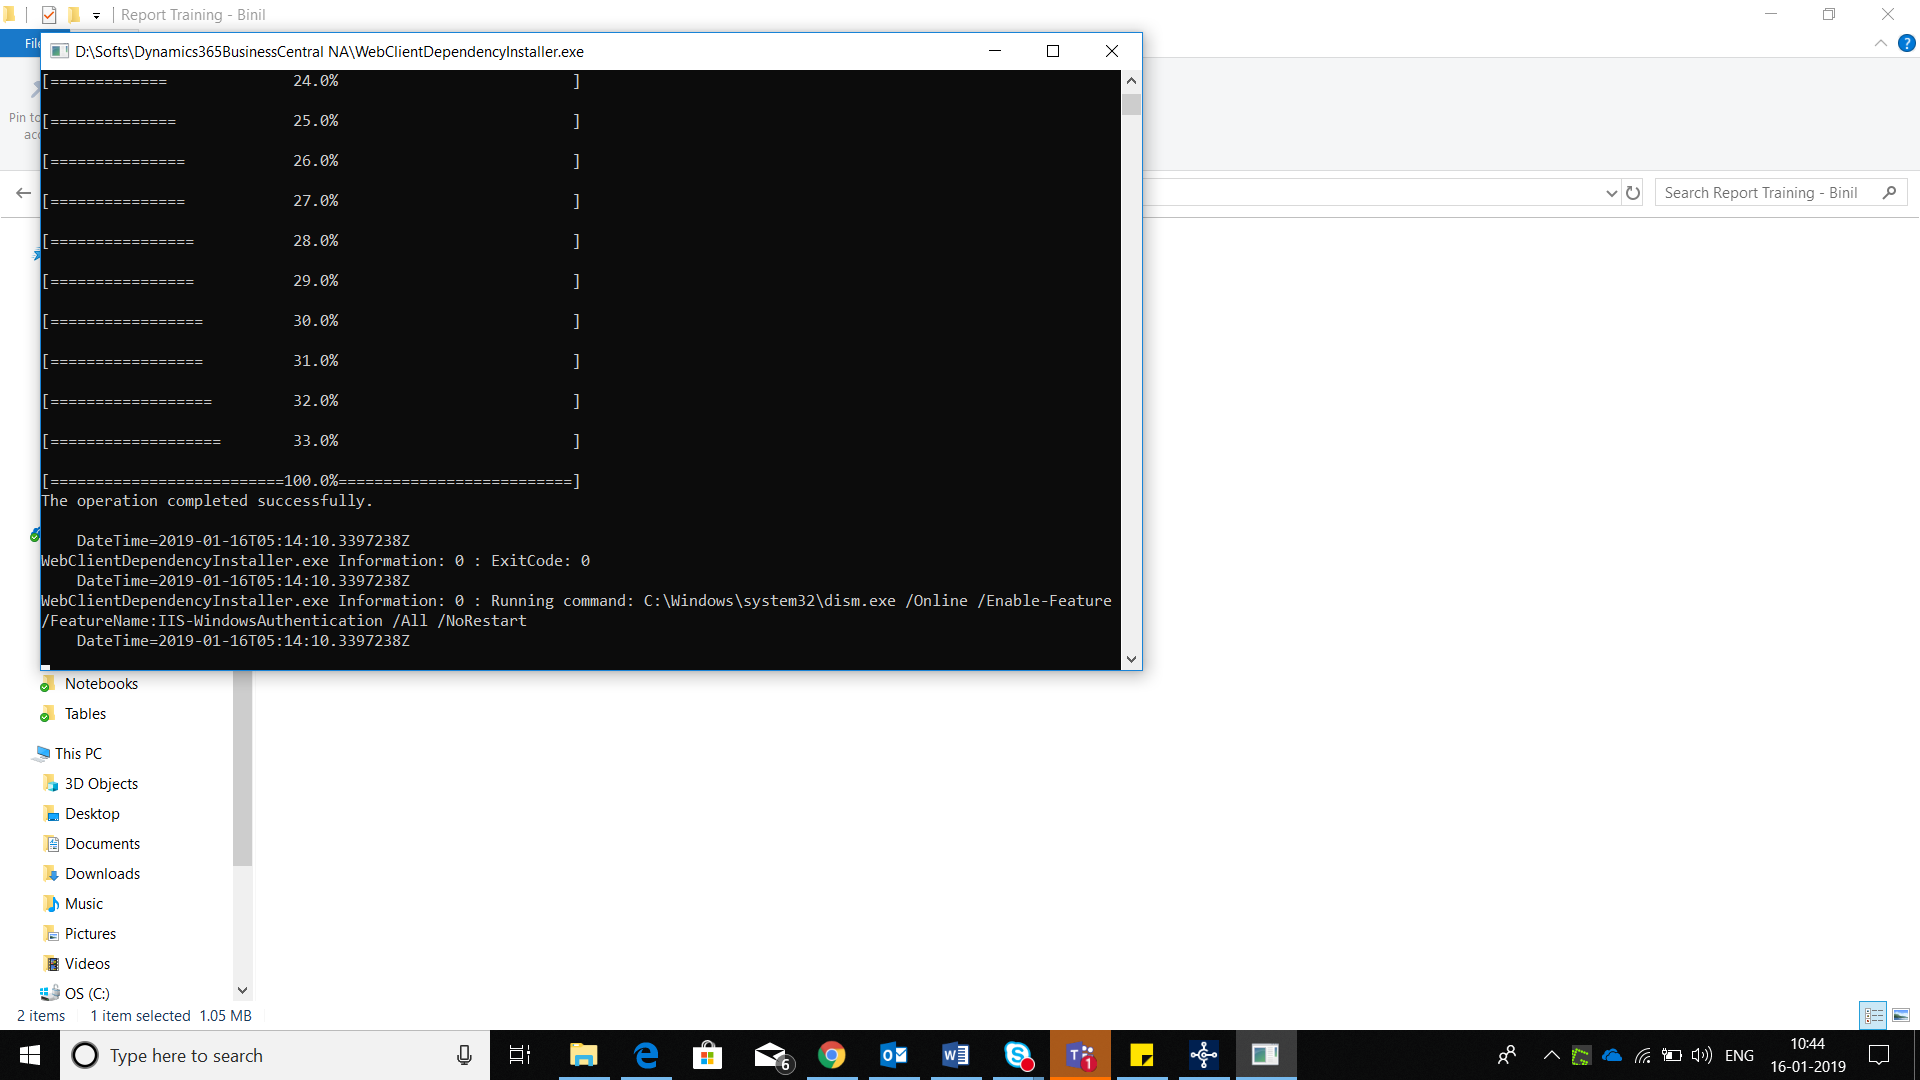
Figure 9: Business Central installation begins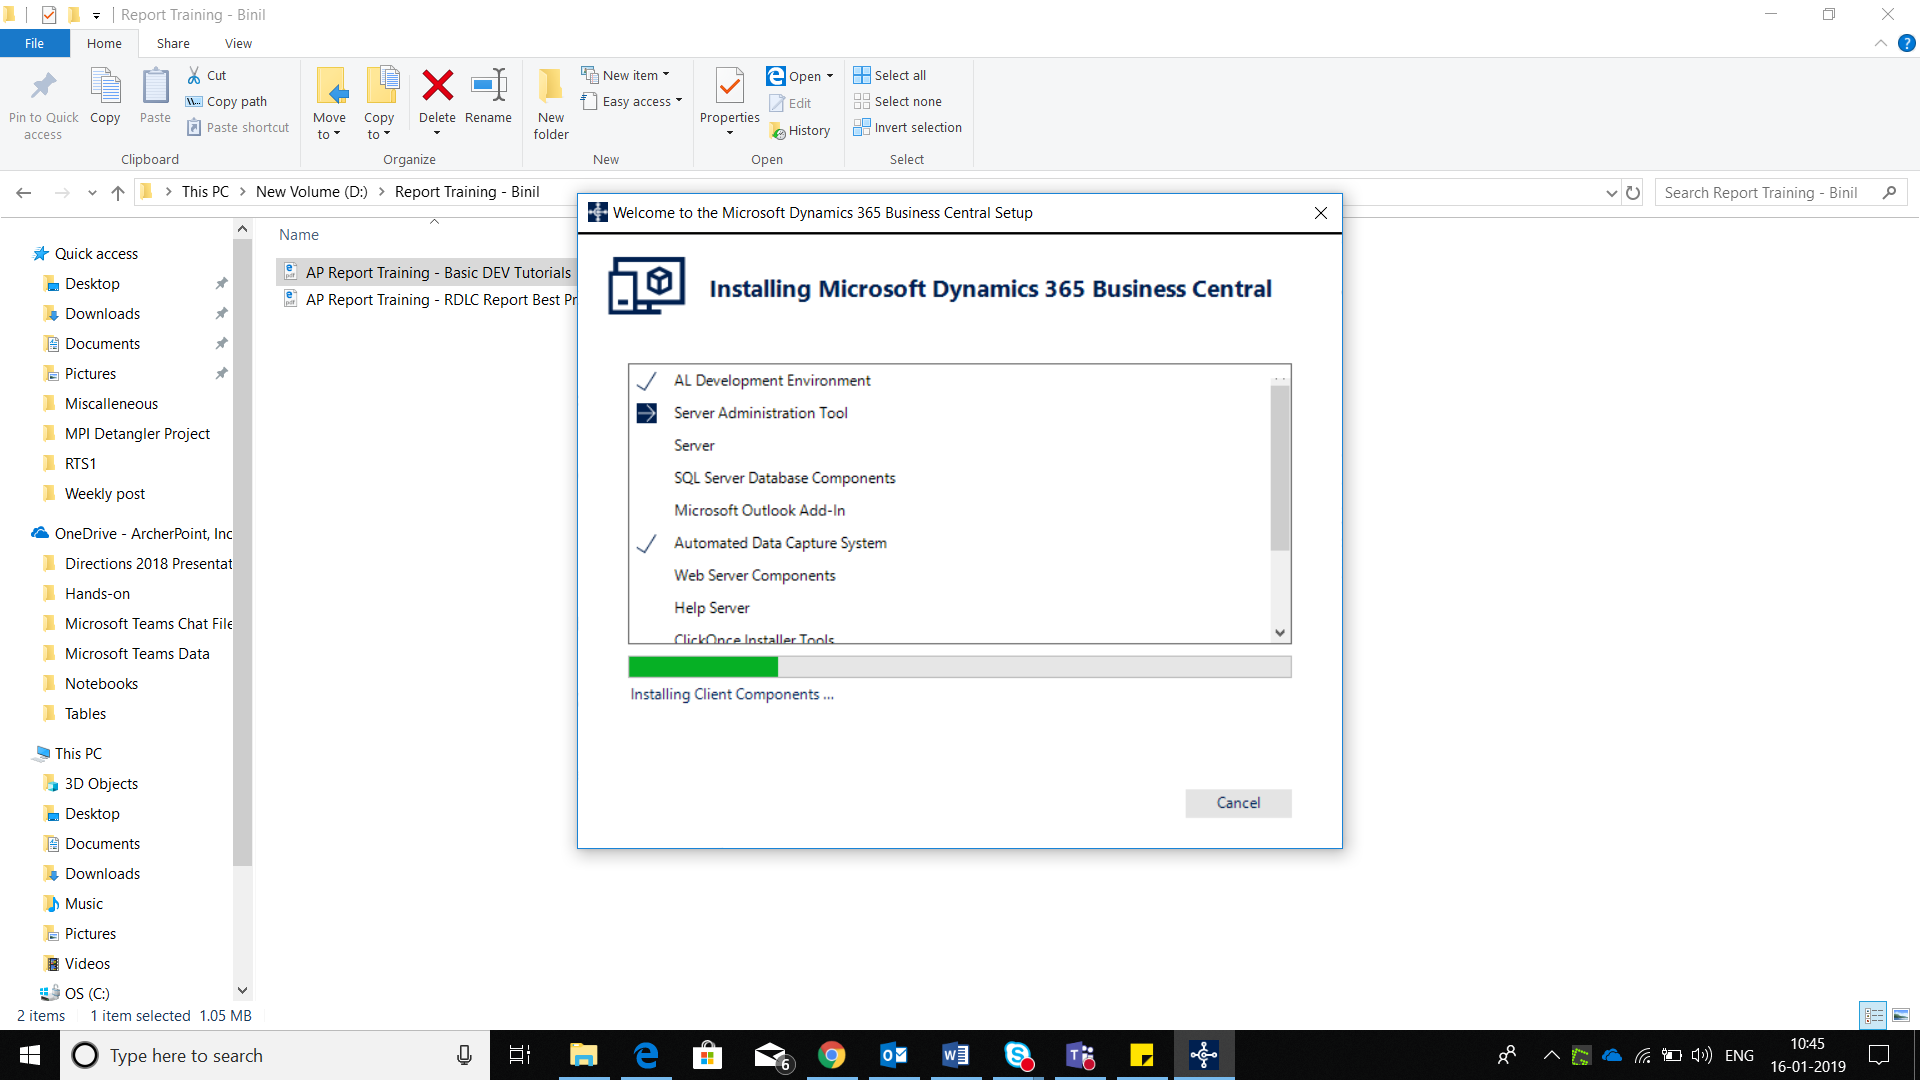
Figure 10: Business Central installation is in progress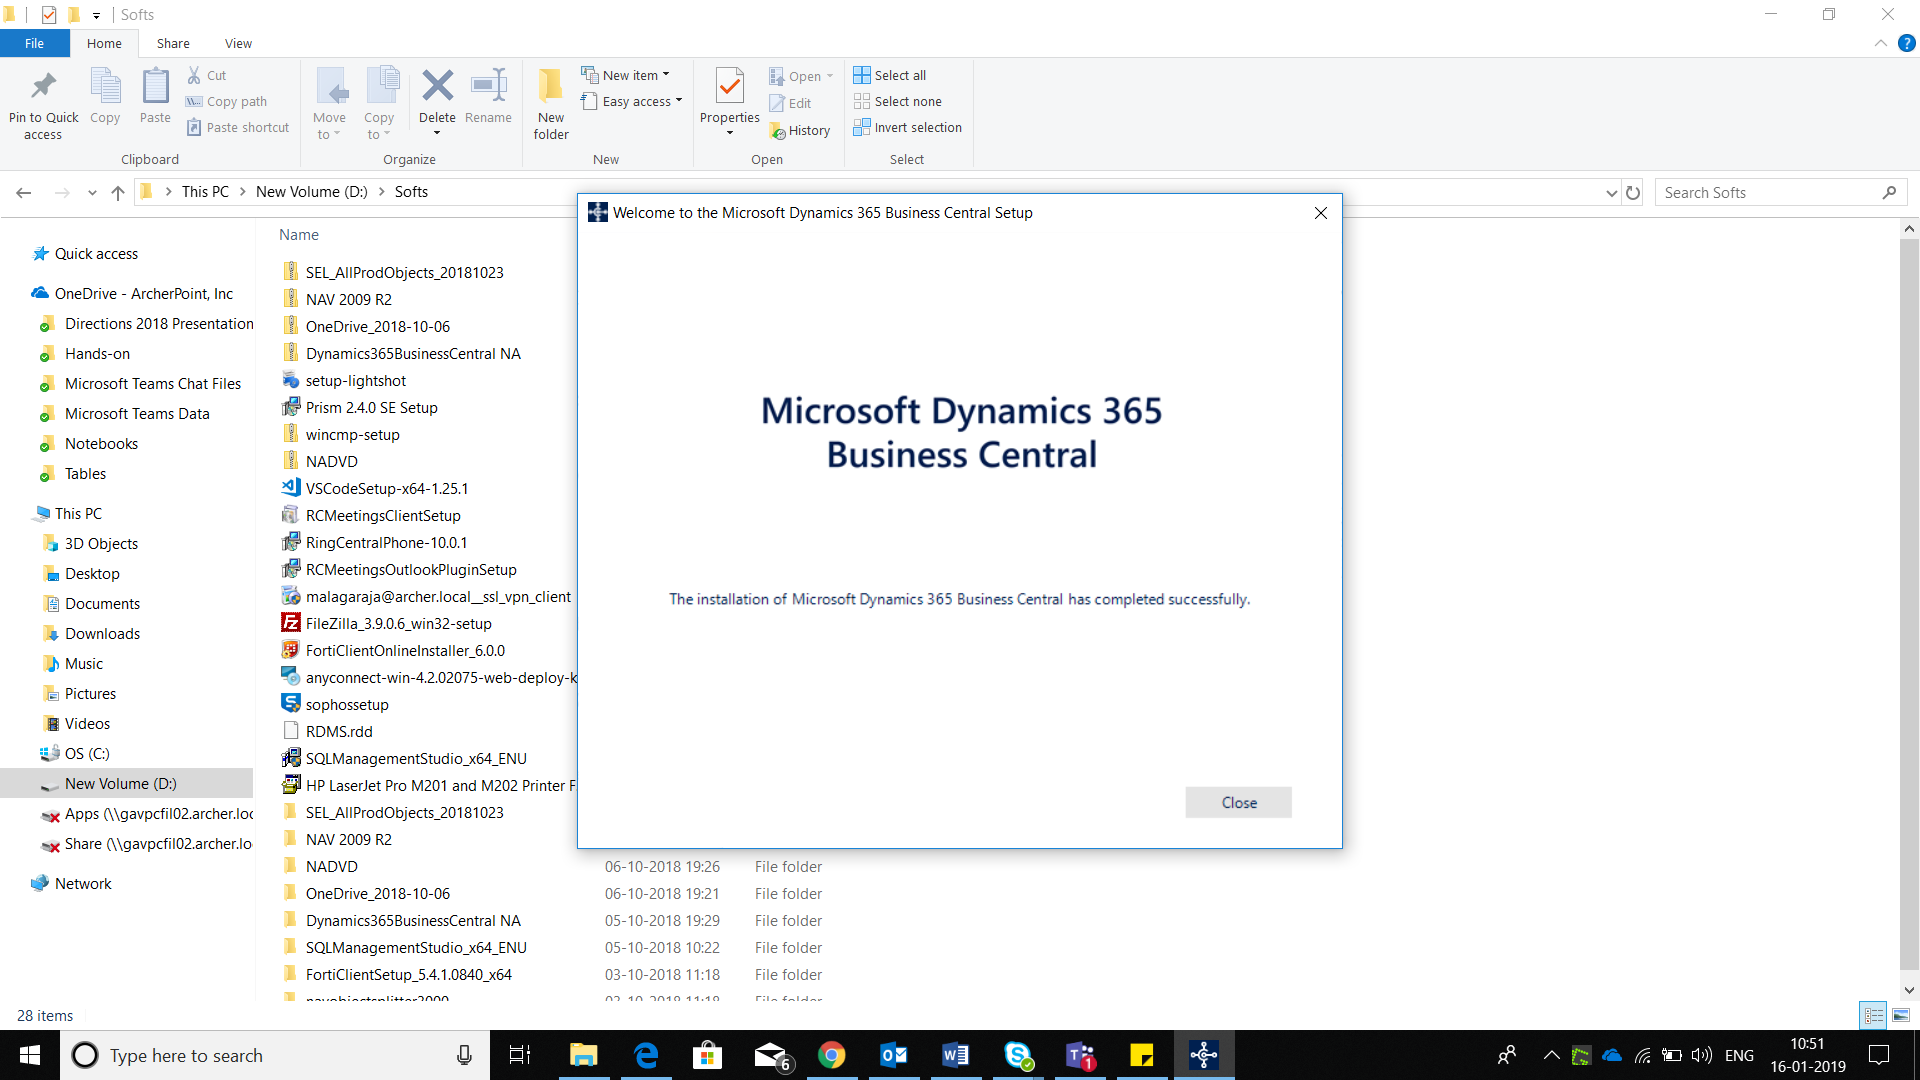
Figure 11: Business Central installation has been completed. - Check to ensure Microsoft Dynamics 365 Business Central / Dynamics NAV has been installed in the system.
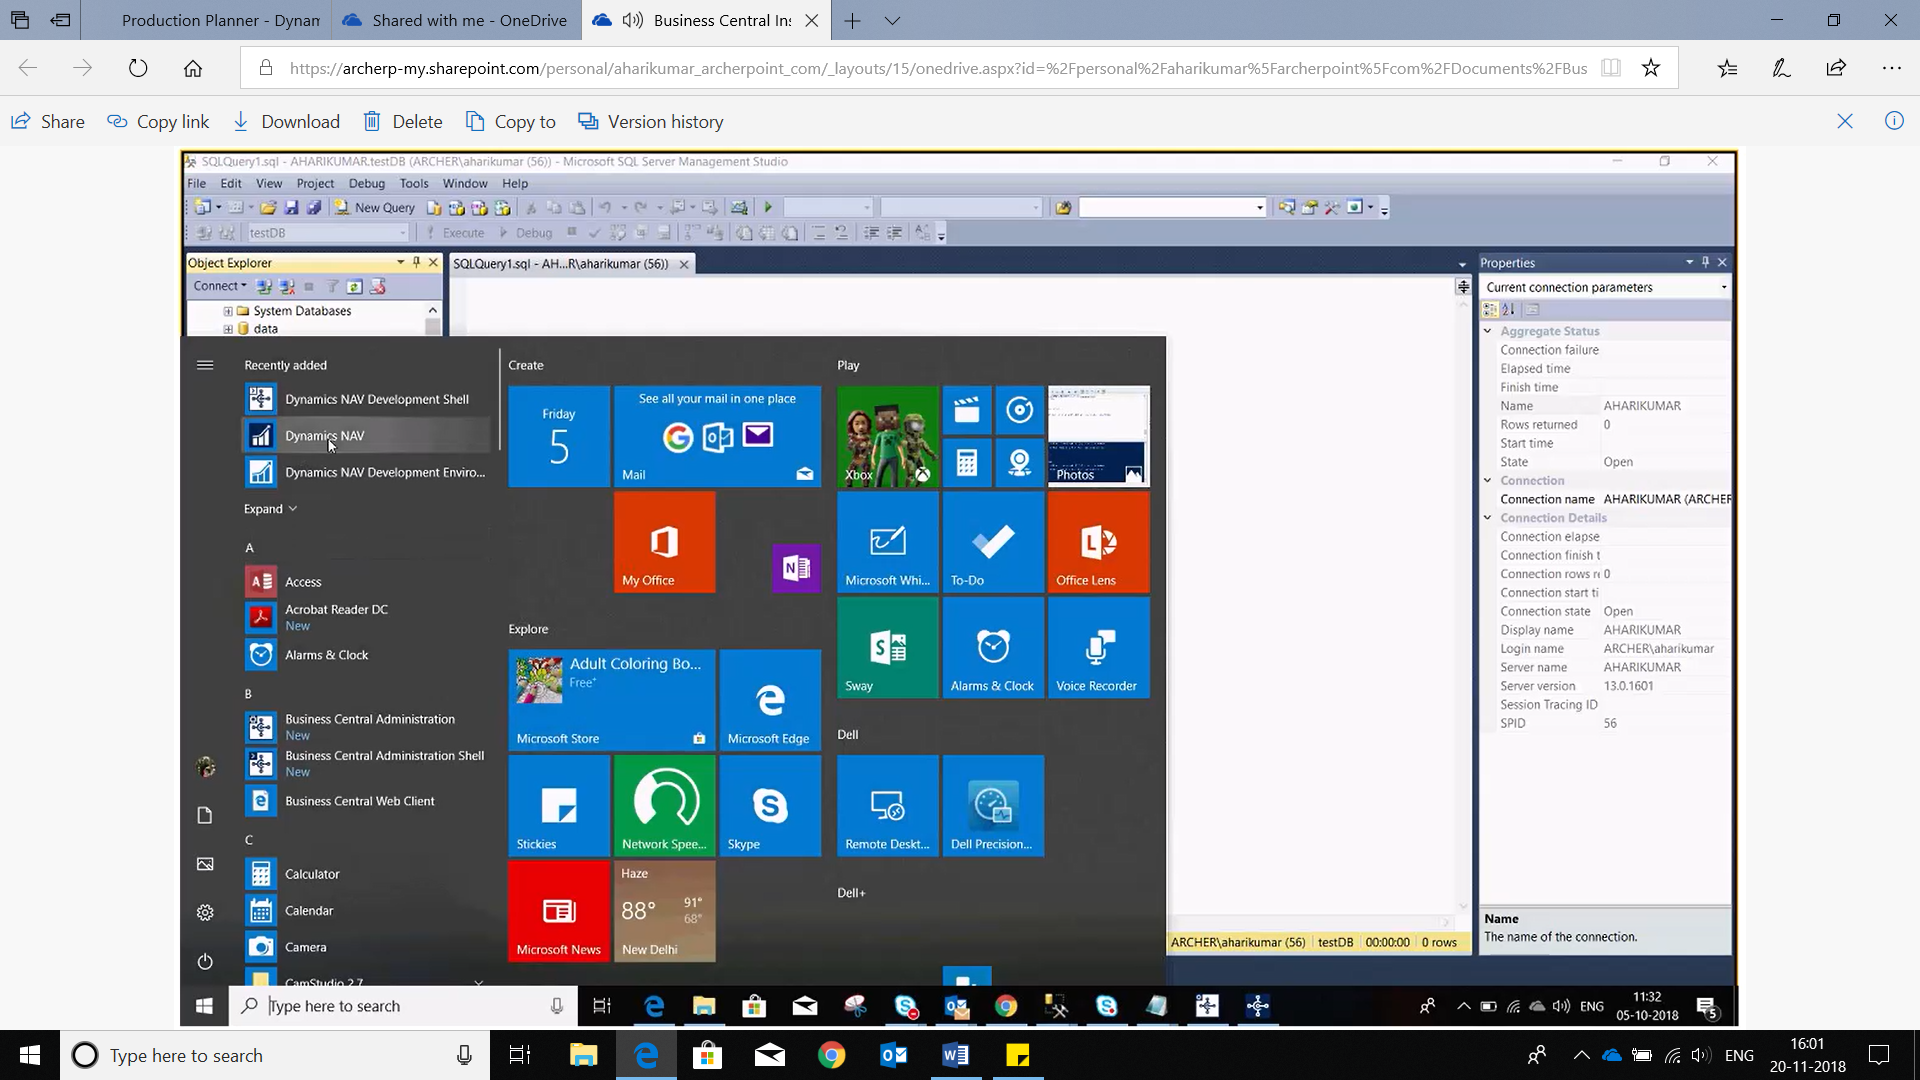
Figure 12: Installed Dynamics Business Central / NAV in the system. - Open the Dynamics Business Central / NAV application.
Figure 13: Open the Dynamics NAV / Business Central application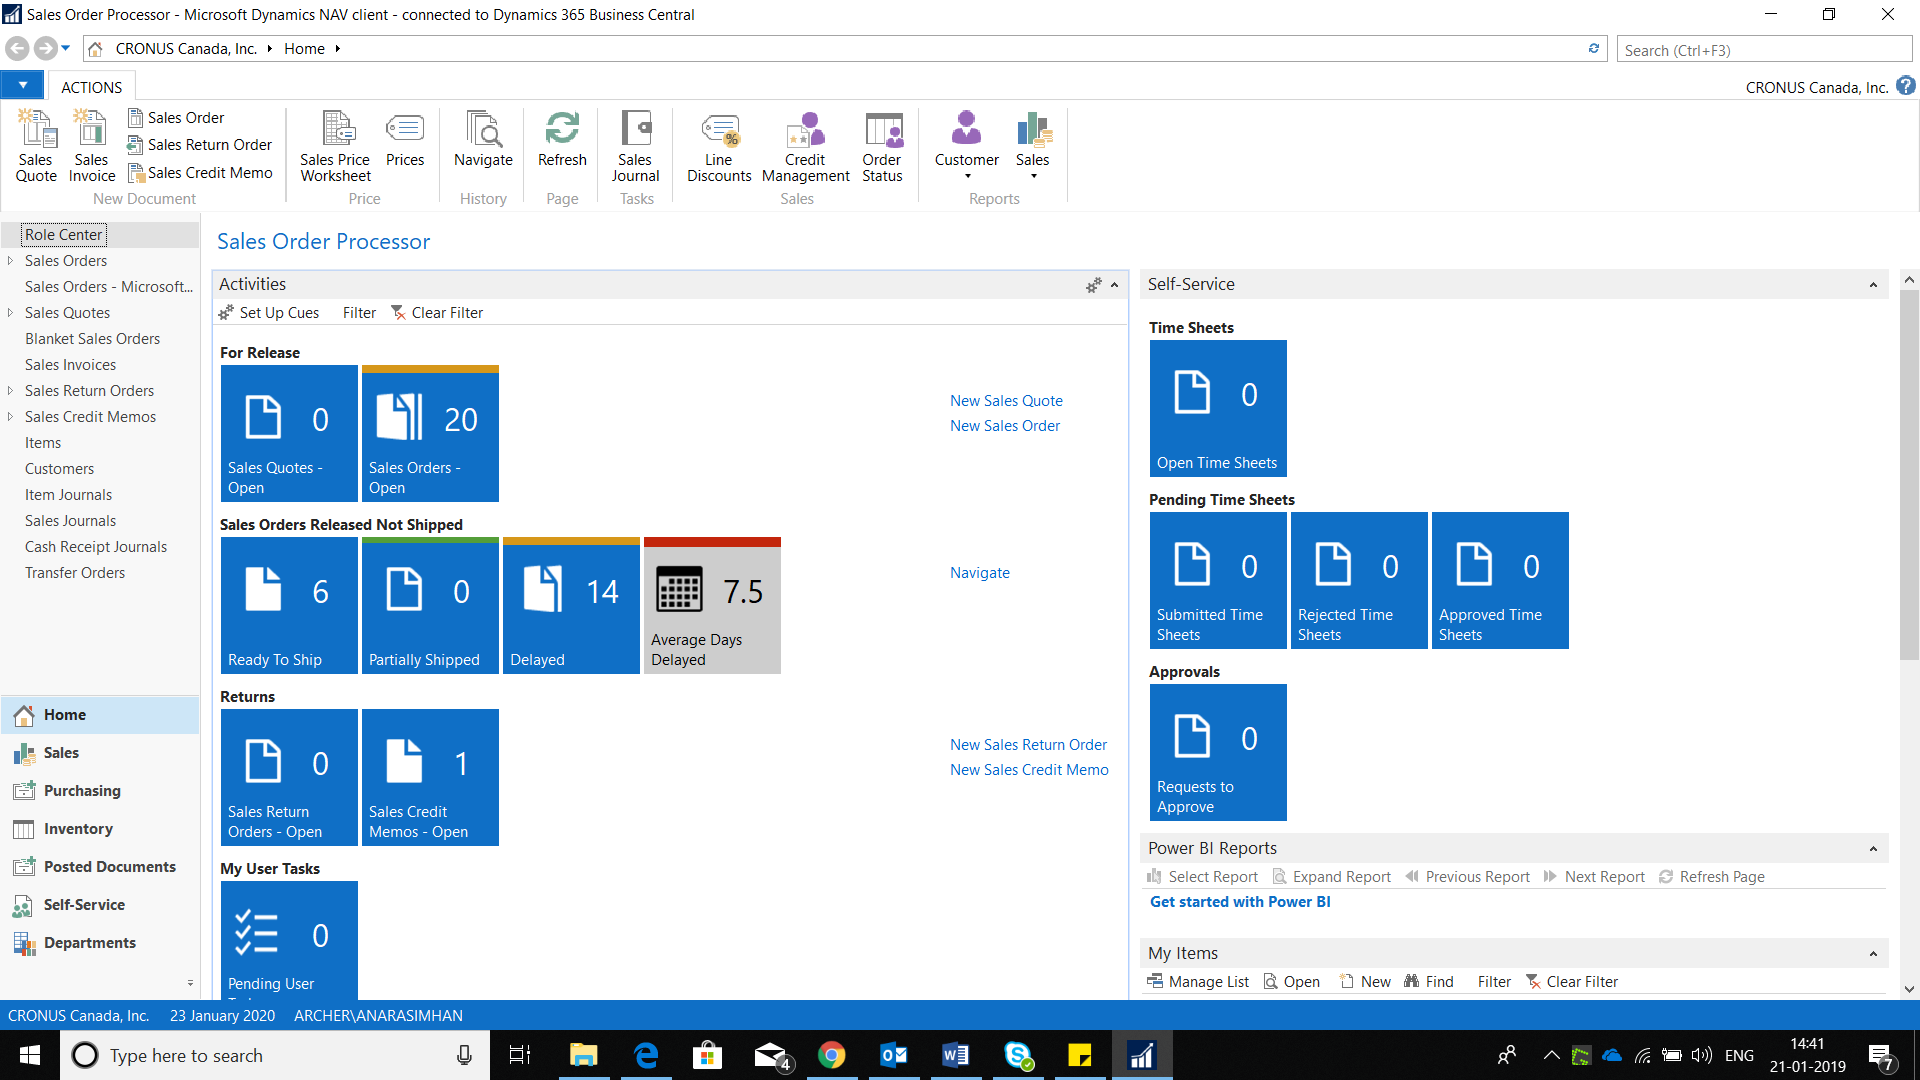
Figure 14: The Microsoft Dynamics NAV / 365 Business Central application
You now have Microsoft Dynamics 365 Business Central installed on your machine.
If you have any questions about this process, or if you have some ideas of your own, contact ArcherPoint.
Read more “How To” blogs from ArcherPoint for practical advice on using Microsoft Dynamics Business Central or NAV. If you are interested in NAV/Business Central development, check out our collection of NAV Development Blogs.
Trending Posts
- Login Error: Communication protocol mismatch between client and server
- How to Make Measures Total Correctly in Power BI Tables
- The Microsoft Technology Stack – What Is It & Why Should You Care?
- MRP vs. MPS: Choosing the Right Planning Approach for Your Manufacturing Business
- Guide to How Manufacturers Can Implement Quality Control Systems Using Business Central
Stay Informed
Subscribe to Communications
"*required" indicates required fields