
Workflows in Microsoft Dynamics NAV 2018


Figure 1 – Workflow Steps in Dynamics NAV 2018
The steps in Figure 1 function as follows:
- Event: initiates the Workflow process
- Condition: scenario under which a Workflow should process
- Response: desired outcome of the Workflow
When strung together, these Workflow steps can supplement a wide range of day-to-day activities and make business processes more efficient through automation.
There are many ways to use Workflows in Dynamics NAV, including:
- Automate approval of various documents (Sales Invoice, Sales Quote, etc.)
- Provide notification of Vendor / Customer / Item detail updates
- Receive invoices to approve in email
- Automate Sales Invoice posting after approval
- Process Incoming Documents
Dynamics NAV has user-friendly and self-explanatory Workflow templates to help users set up Workflows easily.
Creating a Sample Workflow
To illustrate how to create a Workflow, we will use a notification for vendor detail changes as an example. To do so, follow these steps:
- Navigate to Departments/Administration/Application Setup/Workflow/Workflows
- Click ‘New Workflow from Template’
- Fill the Code, Description, and Category as shown below:
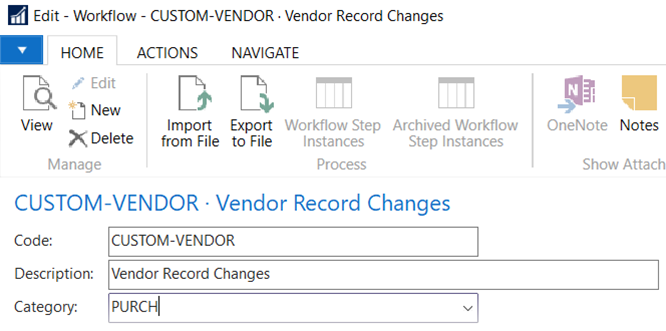
Figure 2 – Create a New Dynamics NAV Workflow from Template
- Fill in ‘When Event’ as a Vendor record is changed. Click on the Assist Edit button in Then Response field to open a Workflow response window
- Click on the dropdown in Select Response field and choose ‘Create Notification %1’as shown below and fill in the Recipient User ID
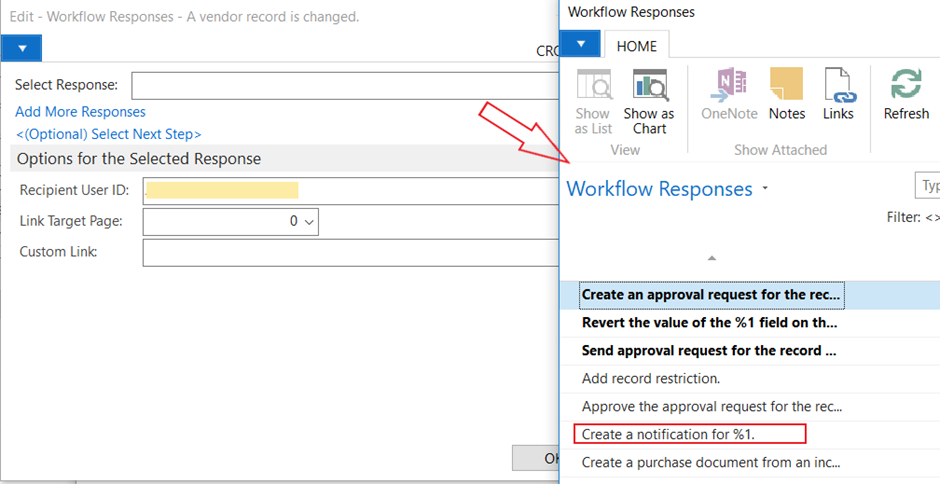
Figure 3 – Dynamics NAV 2018 Workflow Response Screen
- Mark the Enabled Field to activate the Workflow:
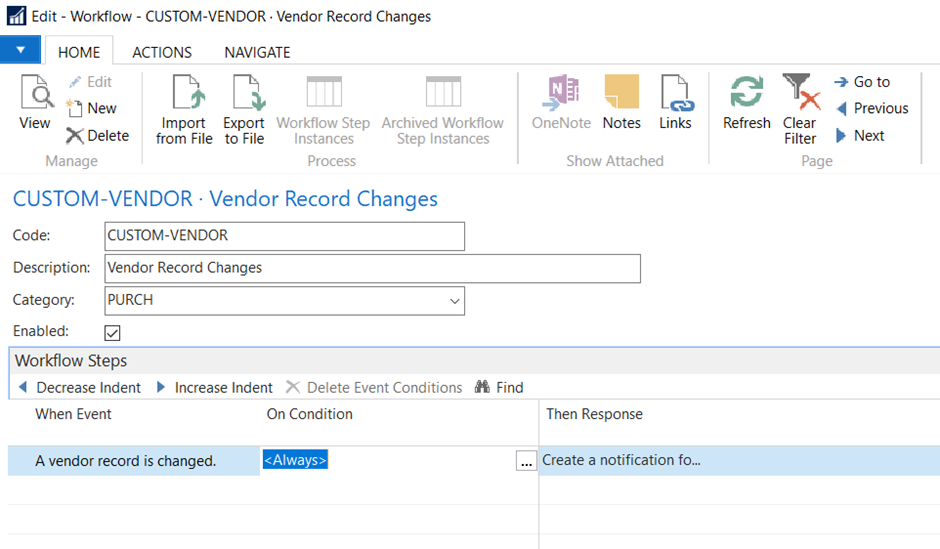
Figure 4 – Enable the Workflow Step
- You can update details like Payment Method Code, Responsibility, etc. for a vendor. After completing this step, you will receive an email as below:
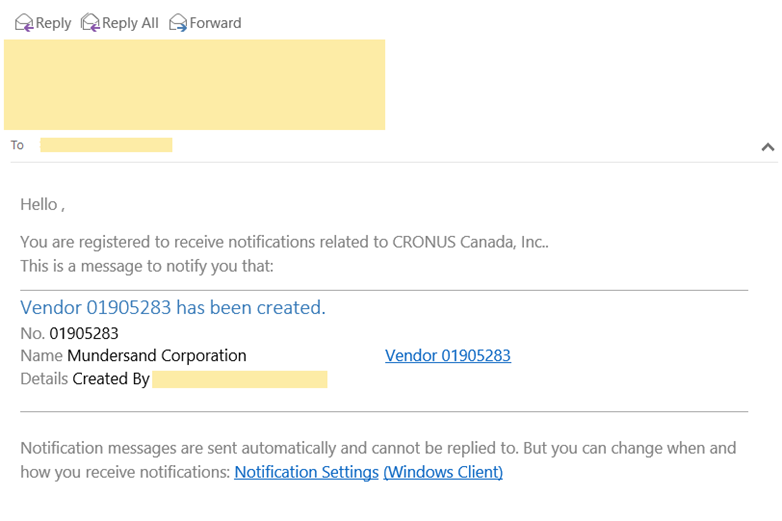
Figure 5 – Confirmation Email
One of the best things about the Workflow functionality is that you can use and customize it to your specific business needs without the need to customize the base Dynamics NAV application. This is just one of the many new features and functionalities of the more recent versions of Dynamics NAV. To ensure your company is getting the most out of your software, be sure to keep your Dynamics NAV version current.
For practical advice on using Microsoft Dynamics NAV, go to ArcherPoint’s “How To” blogs. If you have specific questions and want to learn more, you can contact ArcherPoint.
Trending Posts
- Login Error: Communication protocol mismatch between client and server
- How to Make Measures Total Correctly in Power BI Tables
- The Microsoft Technology Stack – What Is It & Why Should You Care?
- MRP vs. MPS: Choosing the Right Planning Approach for Your Manufacturing Business
- Guide to How Manufacturers Can Implement Quality Control Systems Using Business Central
Stay Informed
Subscribe to Communications
"*required" indicates required fields